
Looks like a great job you are doing! Very thorough.


Looks like a great job you are doing! Very thorough.

I've had a few people pm me about the rust treatment. I used Loctite "Extend Rust Treatment". Its a brush on liquid and works best when there is still surface rust present. I'll also be treating the body/doors/tailgates etc with cavity wax once the repairs are finished.
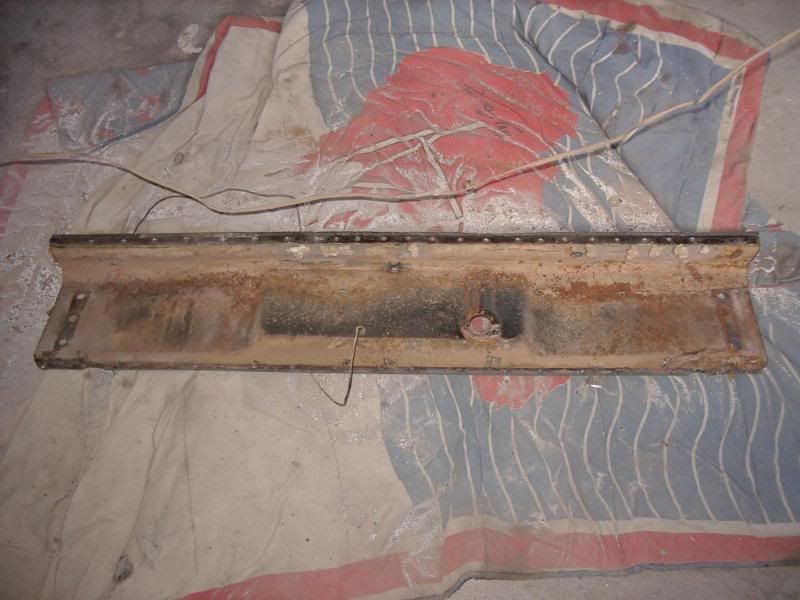
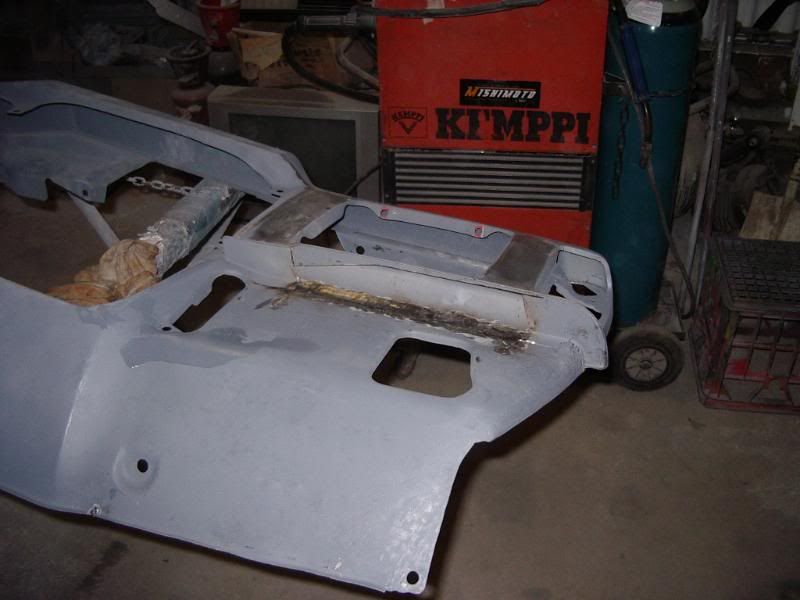
The rear apron had rust/dents in it as did the inner panel so I cut the outer apron off to repair it. The inner was trimmed about 40 mm from the bottom to remove the rust and I have since replaced it with a new bit.
I should have the outer panel repaired and back on by Friday....if the stars and planets align.
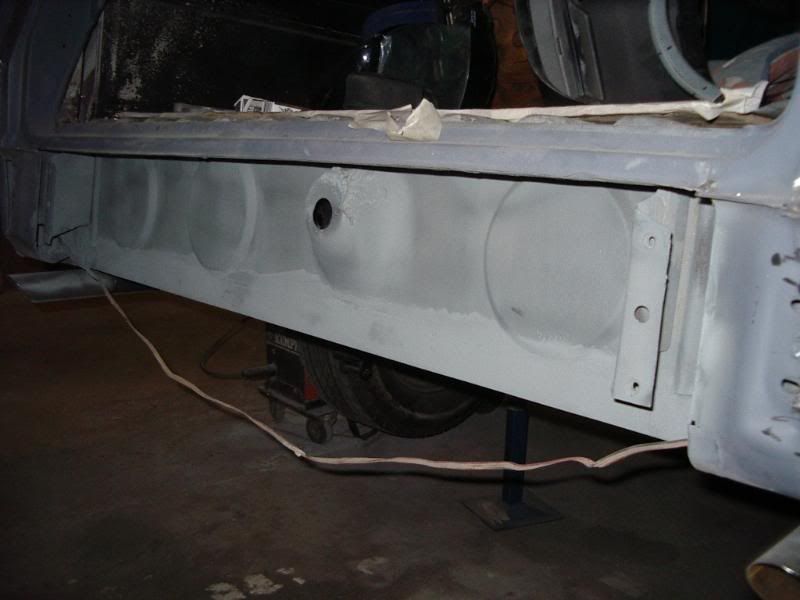
Trimmed, treated and ready to have the new bit welded on
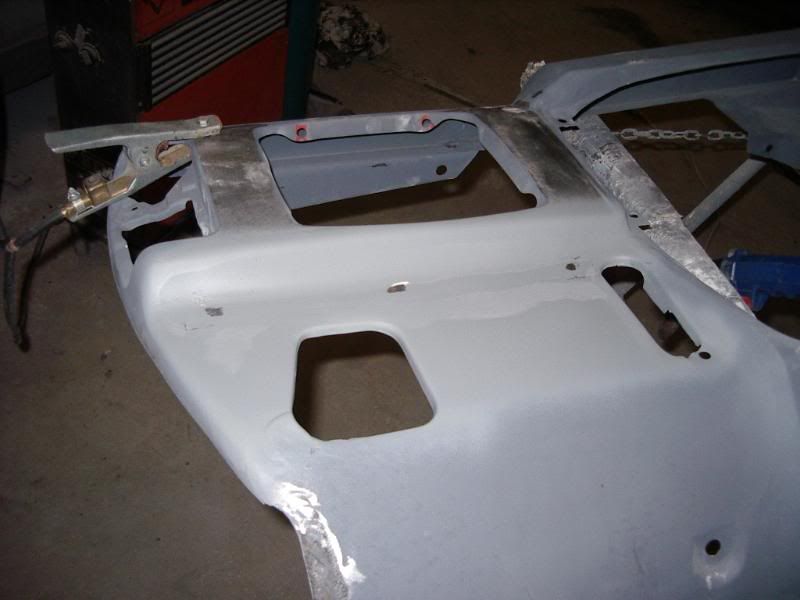
I've since had the inner part of the outer panel sandblasted and am getting it ready to go back on.
Last edited by GTS; 03-08-2010 at 01:47 PM.
The new bit is in and zinc painted.
The outer rear apron still needs some repairs but my panel beater mate wasnt there last night so I moved around the corner and am now on the home straight.
Last edited by GTS; 04-08-2010 at 08:55 AM.
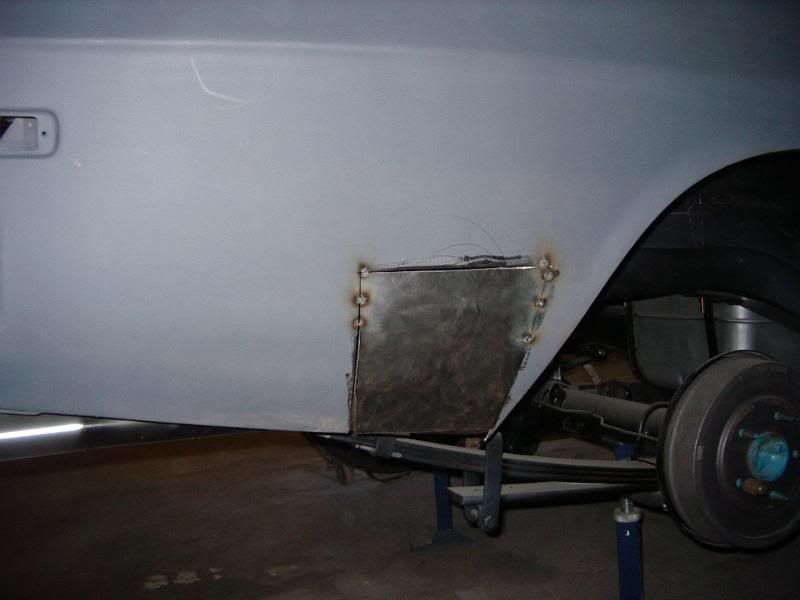
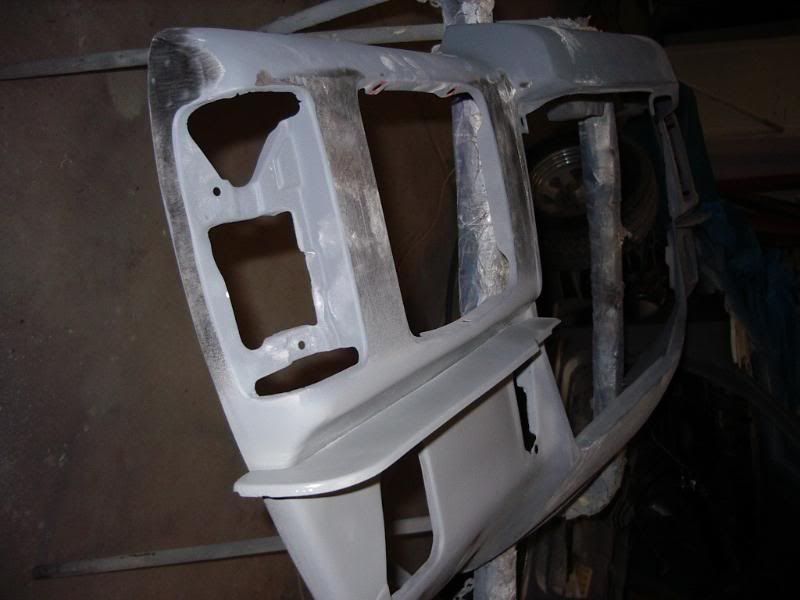
The little filler panel under the headlight had rusted where it is spot welded. I cut the vertical part of the panel off and replaced it, then cut out the rusted section in the front apron.
The hole was filled and a little bit of bog used to tidy it up. The panel will be spot welded back on Tuesday night.
Last edited by GTS; 10-08-2010 at 08:29 AM.
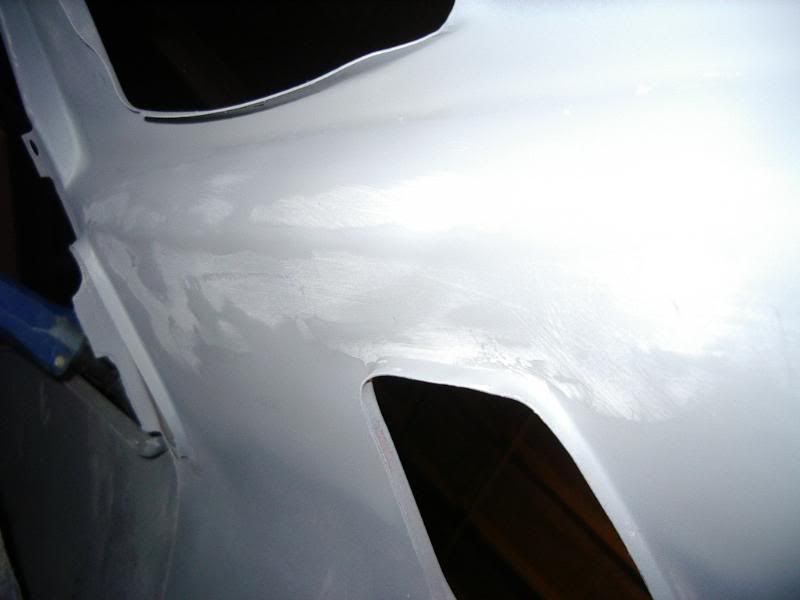
Another day, another dollar........I got the right hand side of the front apron finished last night. Now to do the other side.
And, as per my mates instructions, I had to tidy up the inside as well....
Last edited by GTS; 11-08-2010 at 08:43 AM.
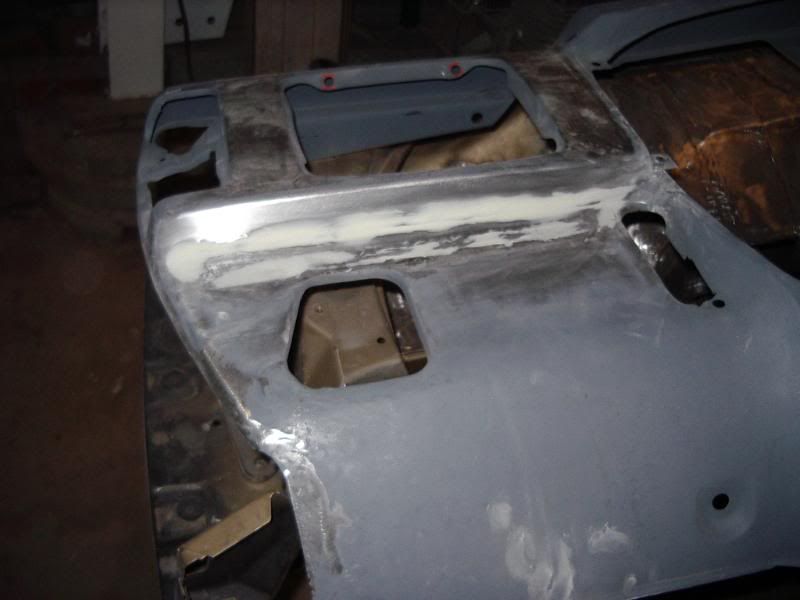
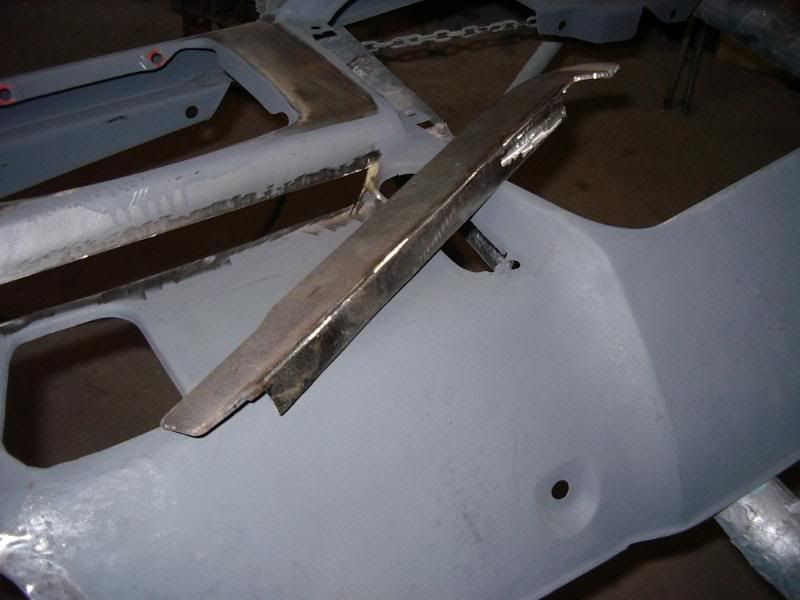
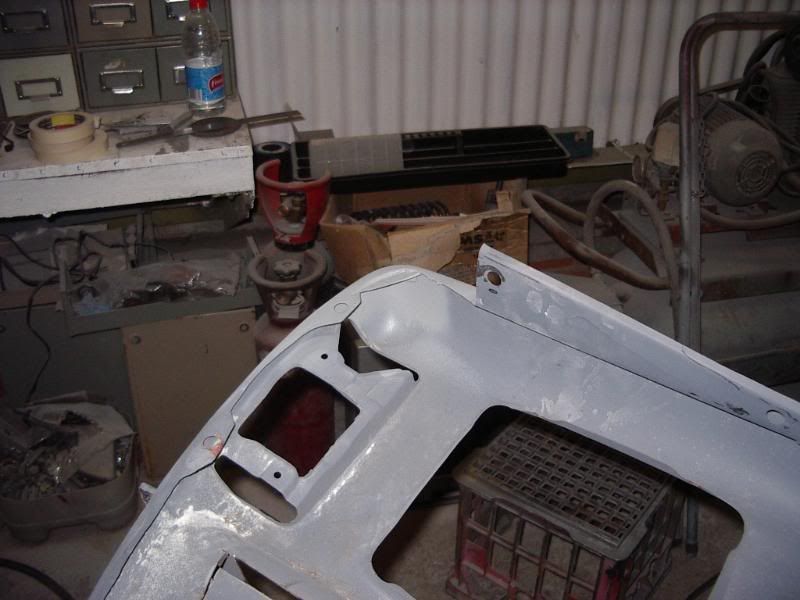
I added some bracing to the front apron last night. Both top corners were cracked so I welded in a piece of metal to strenghten them, and did the same on both the front guards.
I also got the rusty bit removed and replaced on the left hand side panel under the headlight. I should have it finished tonight then move on to replacing the rear outer beaver panel....if it turns up on the truck today.
Last edited by GTS; 12-08-2010 at 08:37 AM.


Well done mate. This is something that EVERYONE should take note of. ALL fronts crack there. Its a BIG must. Well done.Originally Posted by GTS

Owner (Jason) - STICKTHIS Automotive Decals and Stripes
HX Sandman Panelvan. Mint Julep. Complete Factory Resto.
HZ Sandman Ute. Saddle Tan Metallic - Customised. Galaxy Blue.
HZ GTS. Palais White. Next Resto From 99% NOS Parts.
HSV GTO Coupe - Highly Modified
VR SS into a VS Supercar Castrol Perkins Ingall 1997 Tribuilte build
Both top corners of the apron and the guards had cracks. The metal is sooooooooo thin in that area ya just gotta be carefull not to grind on the edge......like I did on the left hand side.....oh well, it only wasted 1 hour of my life fixing it up again


Great job. Love following these resto threads. cant wait to see it in a coat of pain.
There are currently 1 users browsing this thread. (0 members and 1 guests)
 Posting Permissions

 Reply With Quote

Bookmarks