
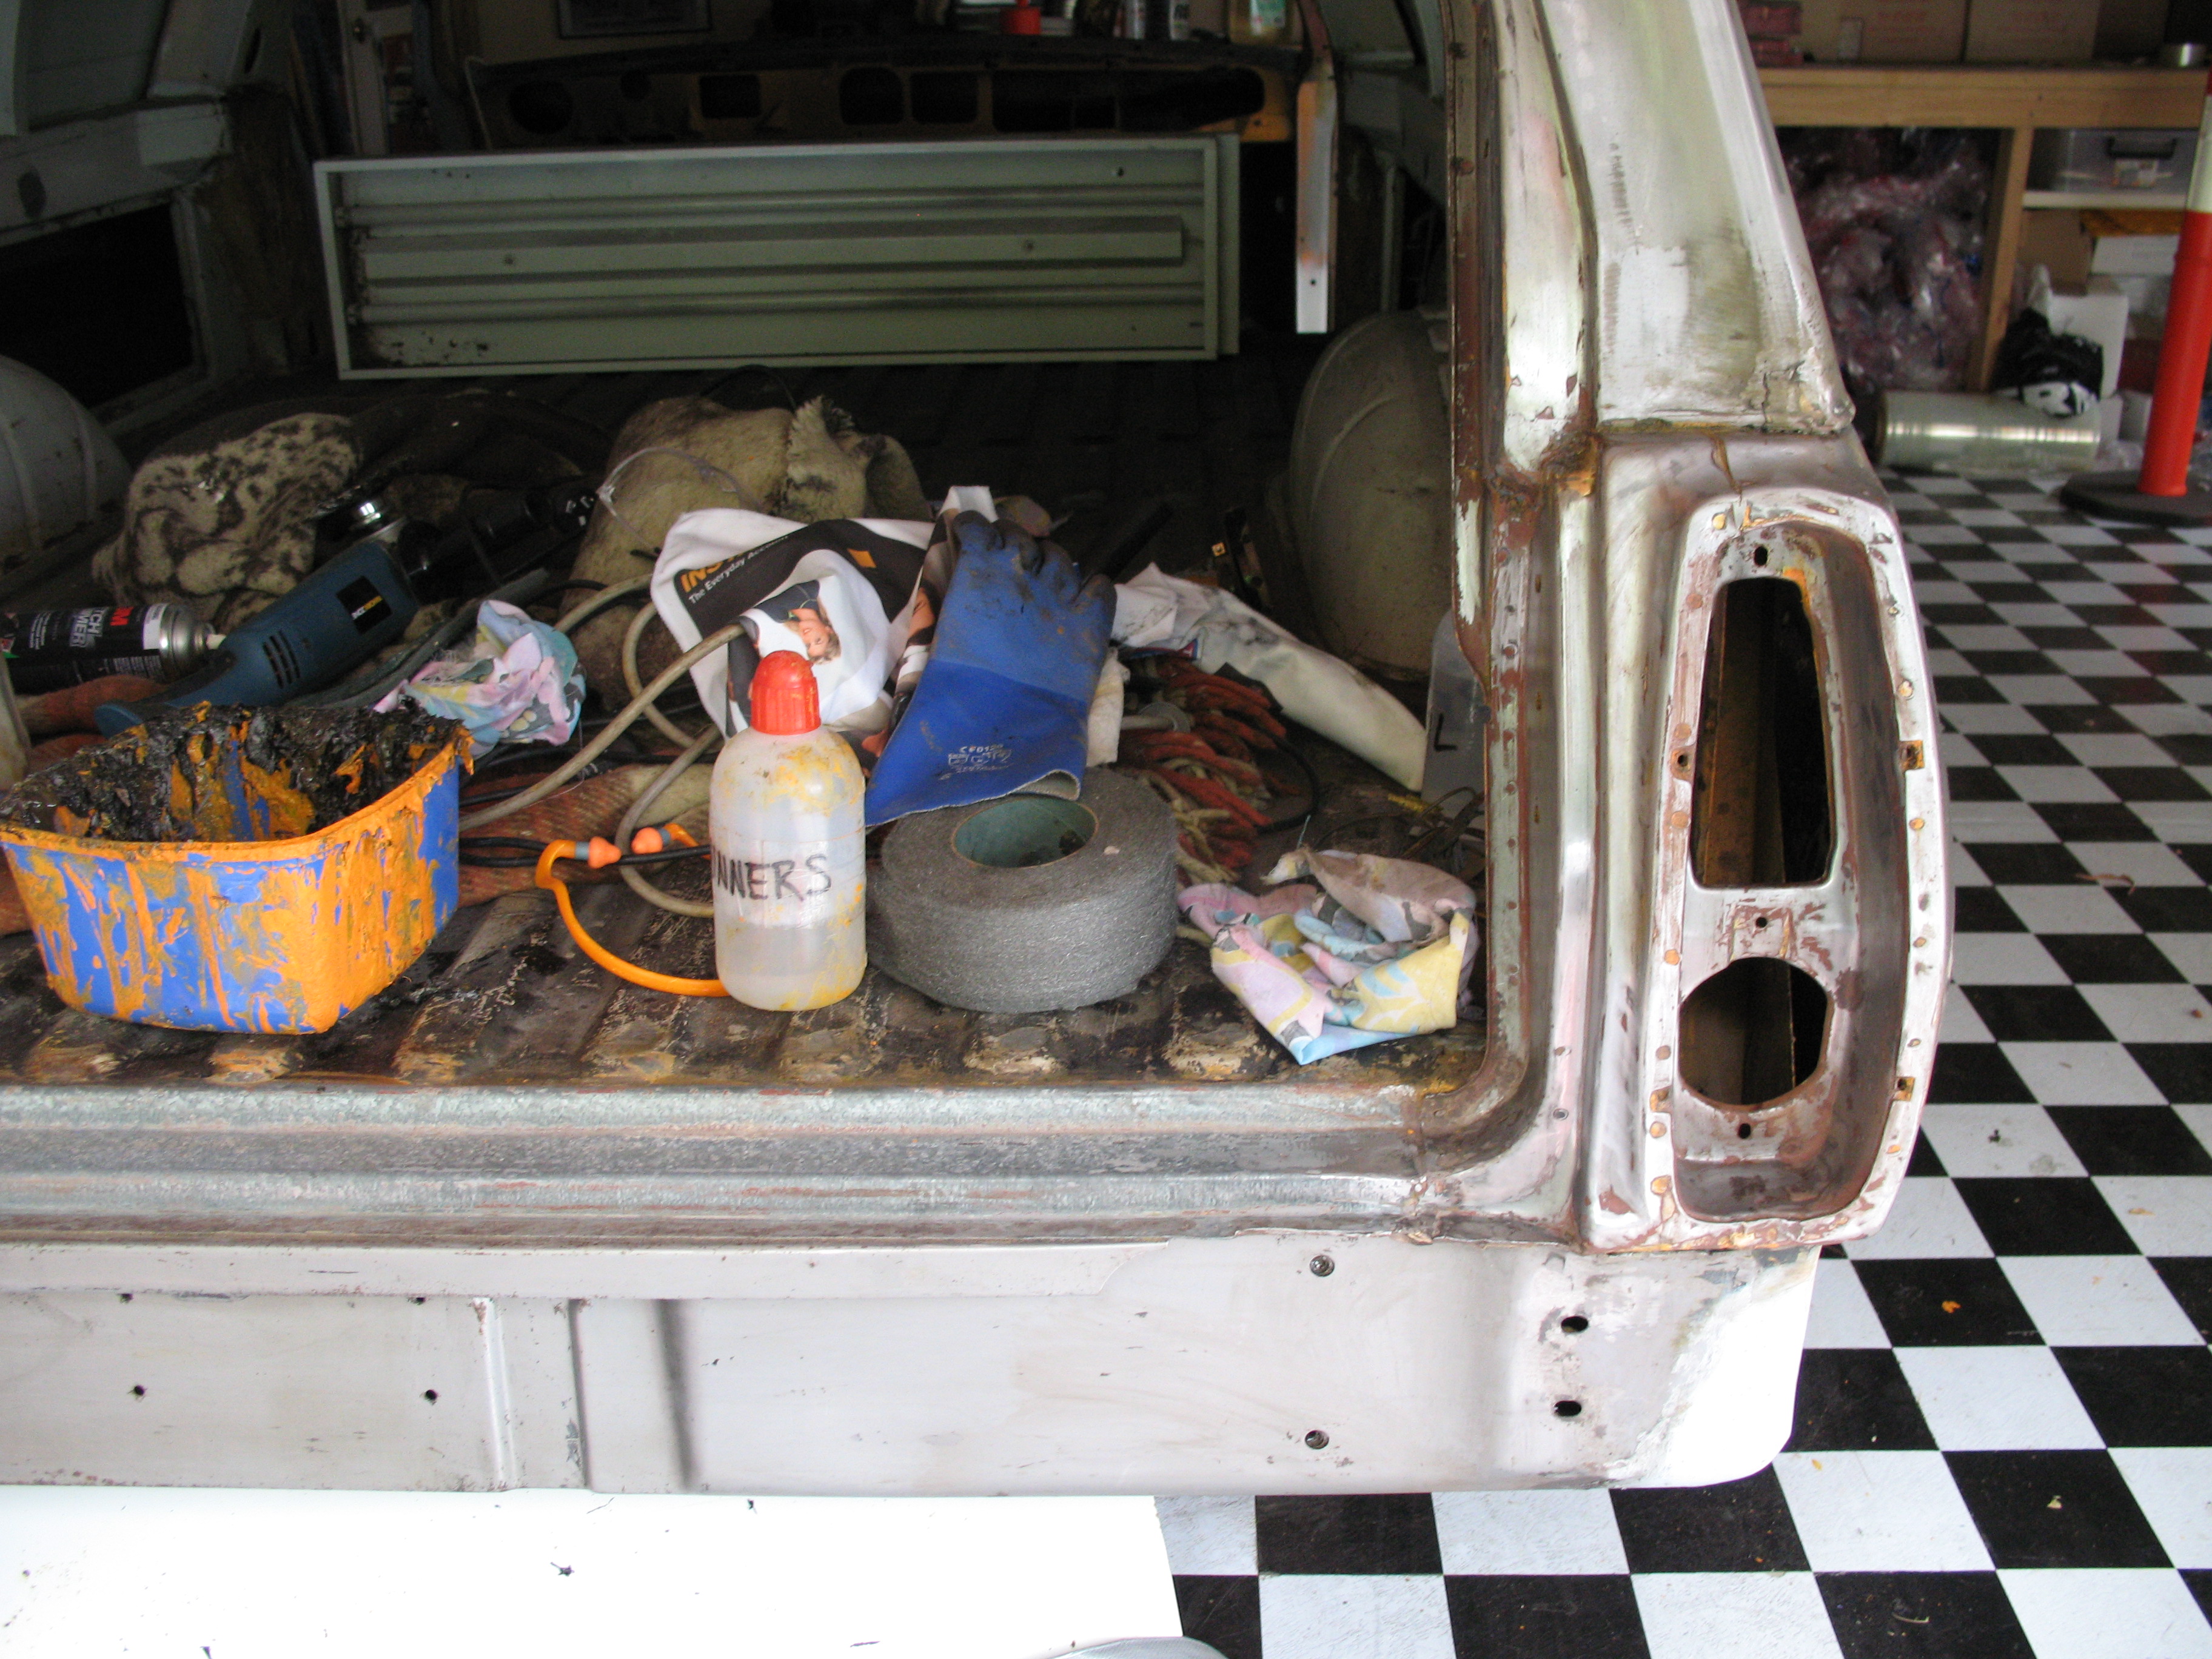
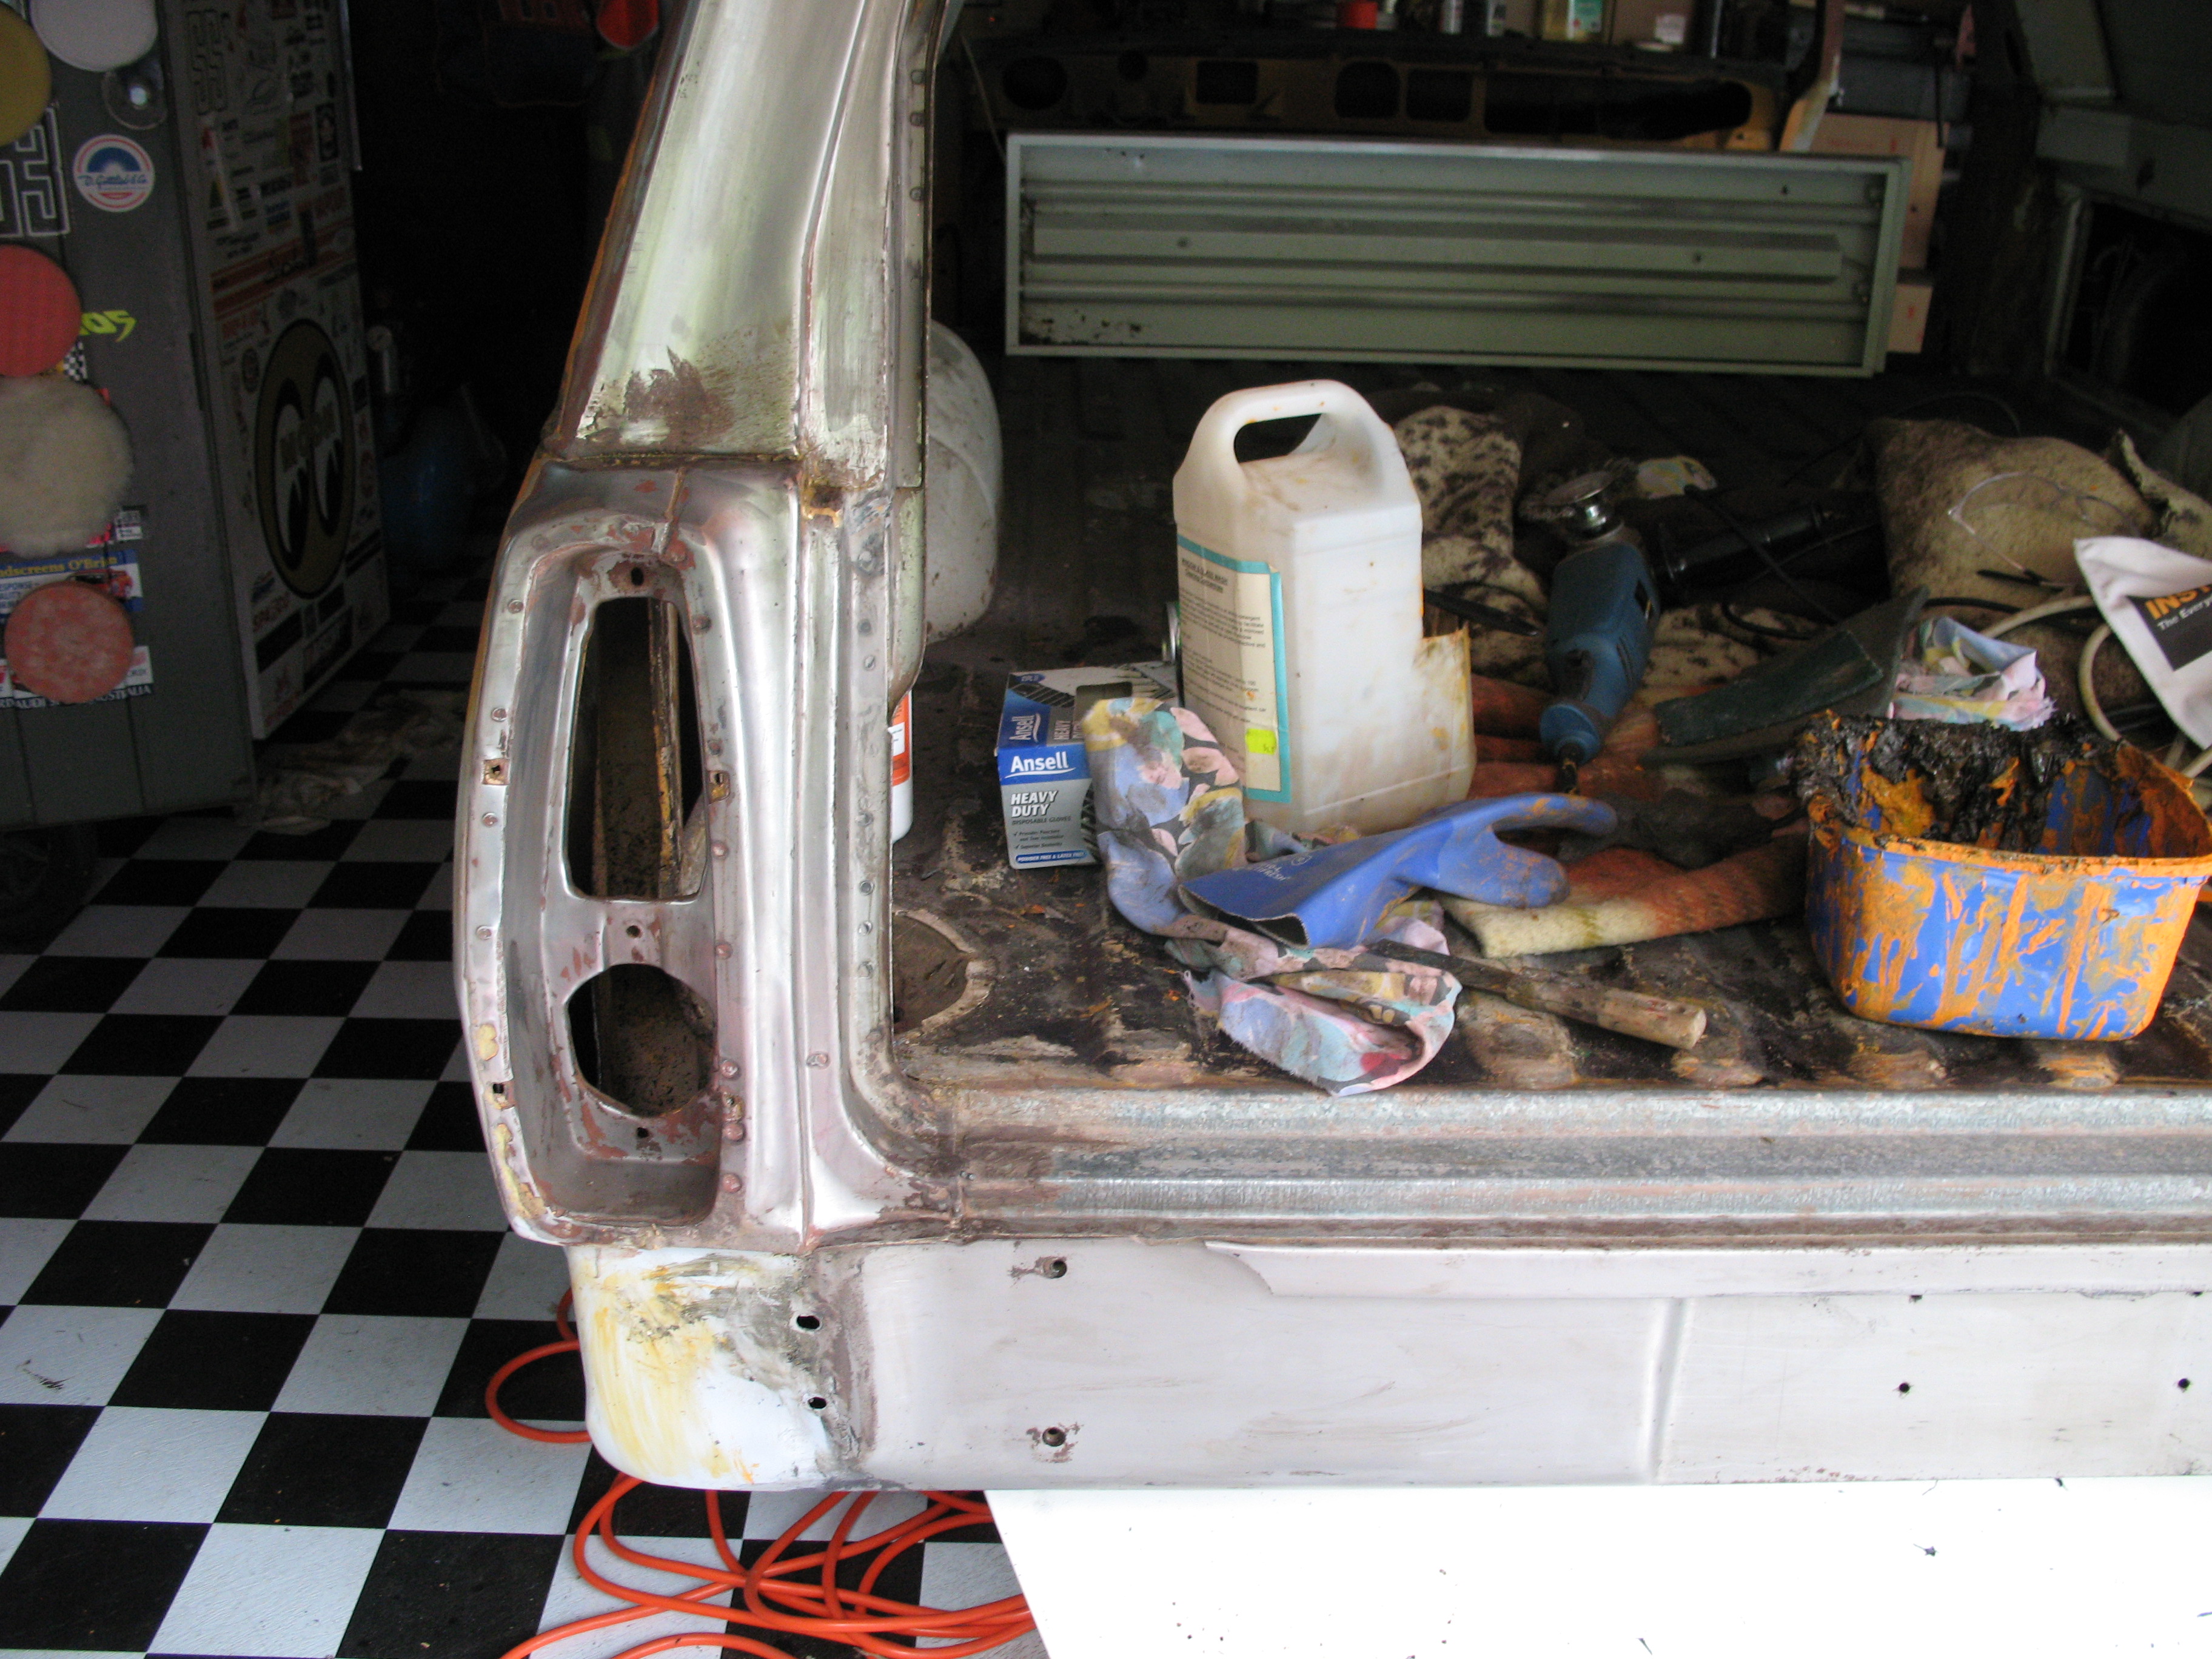
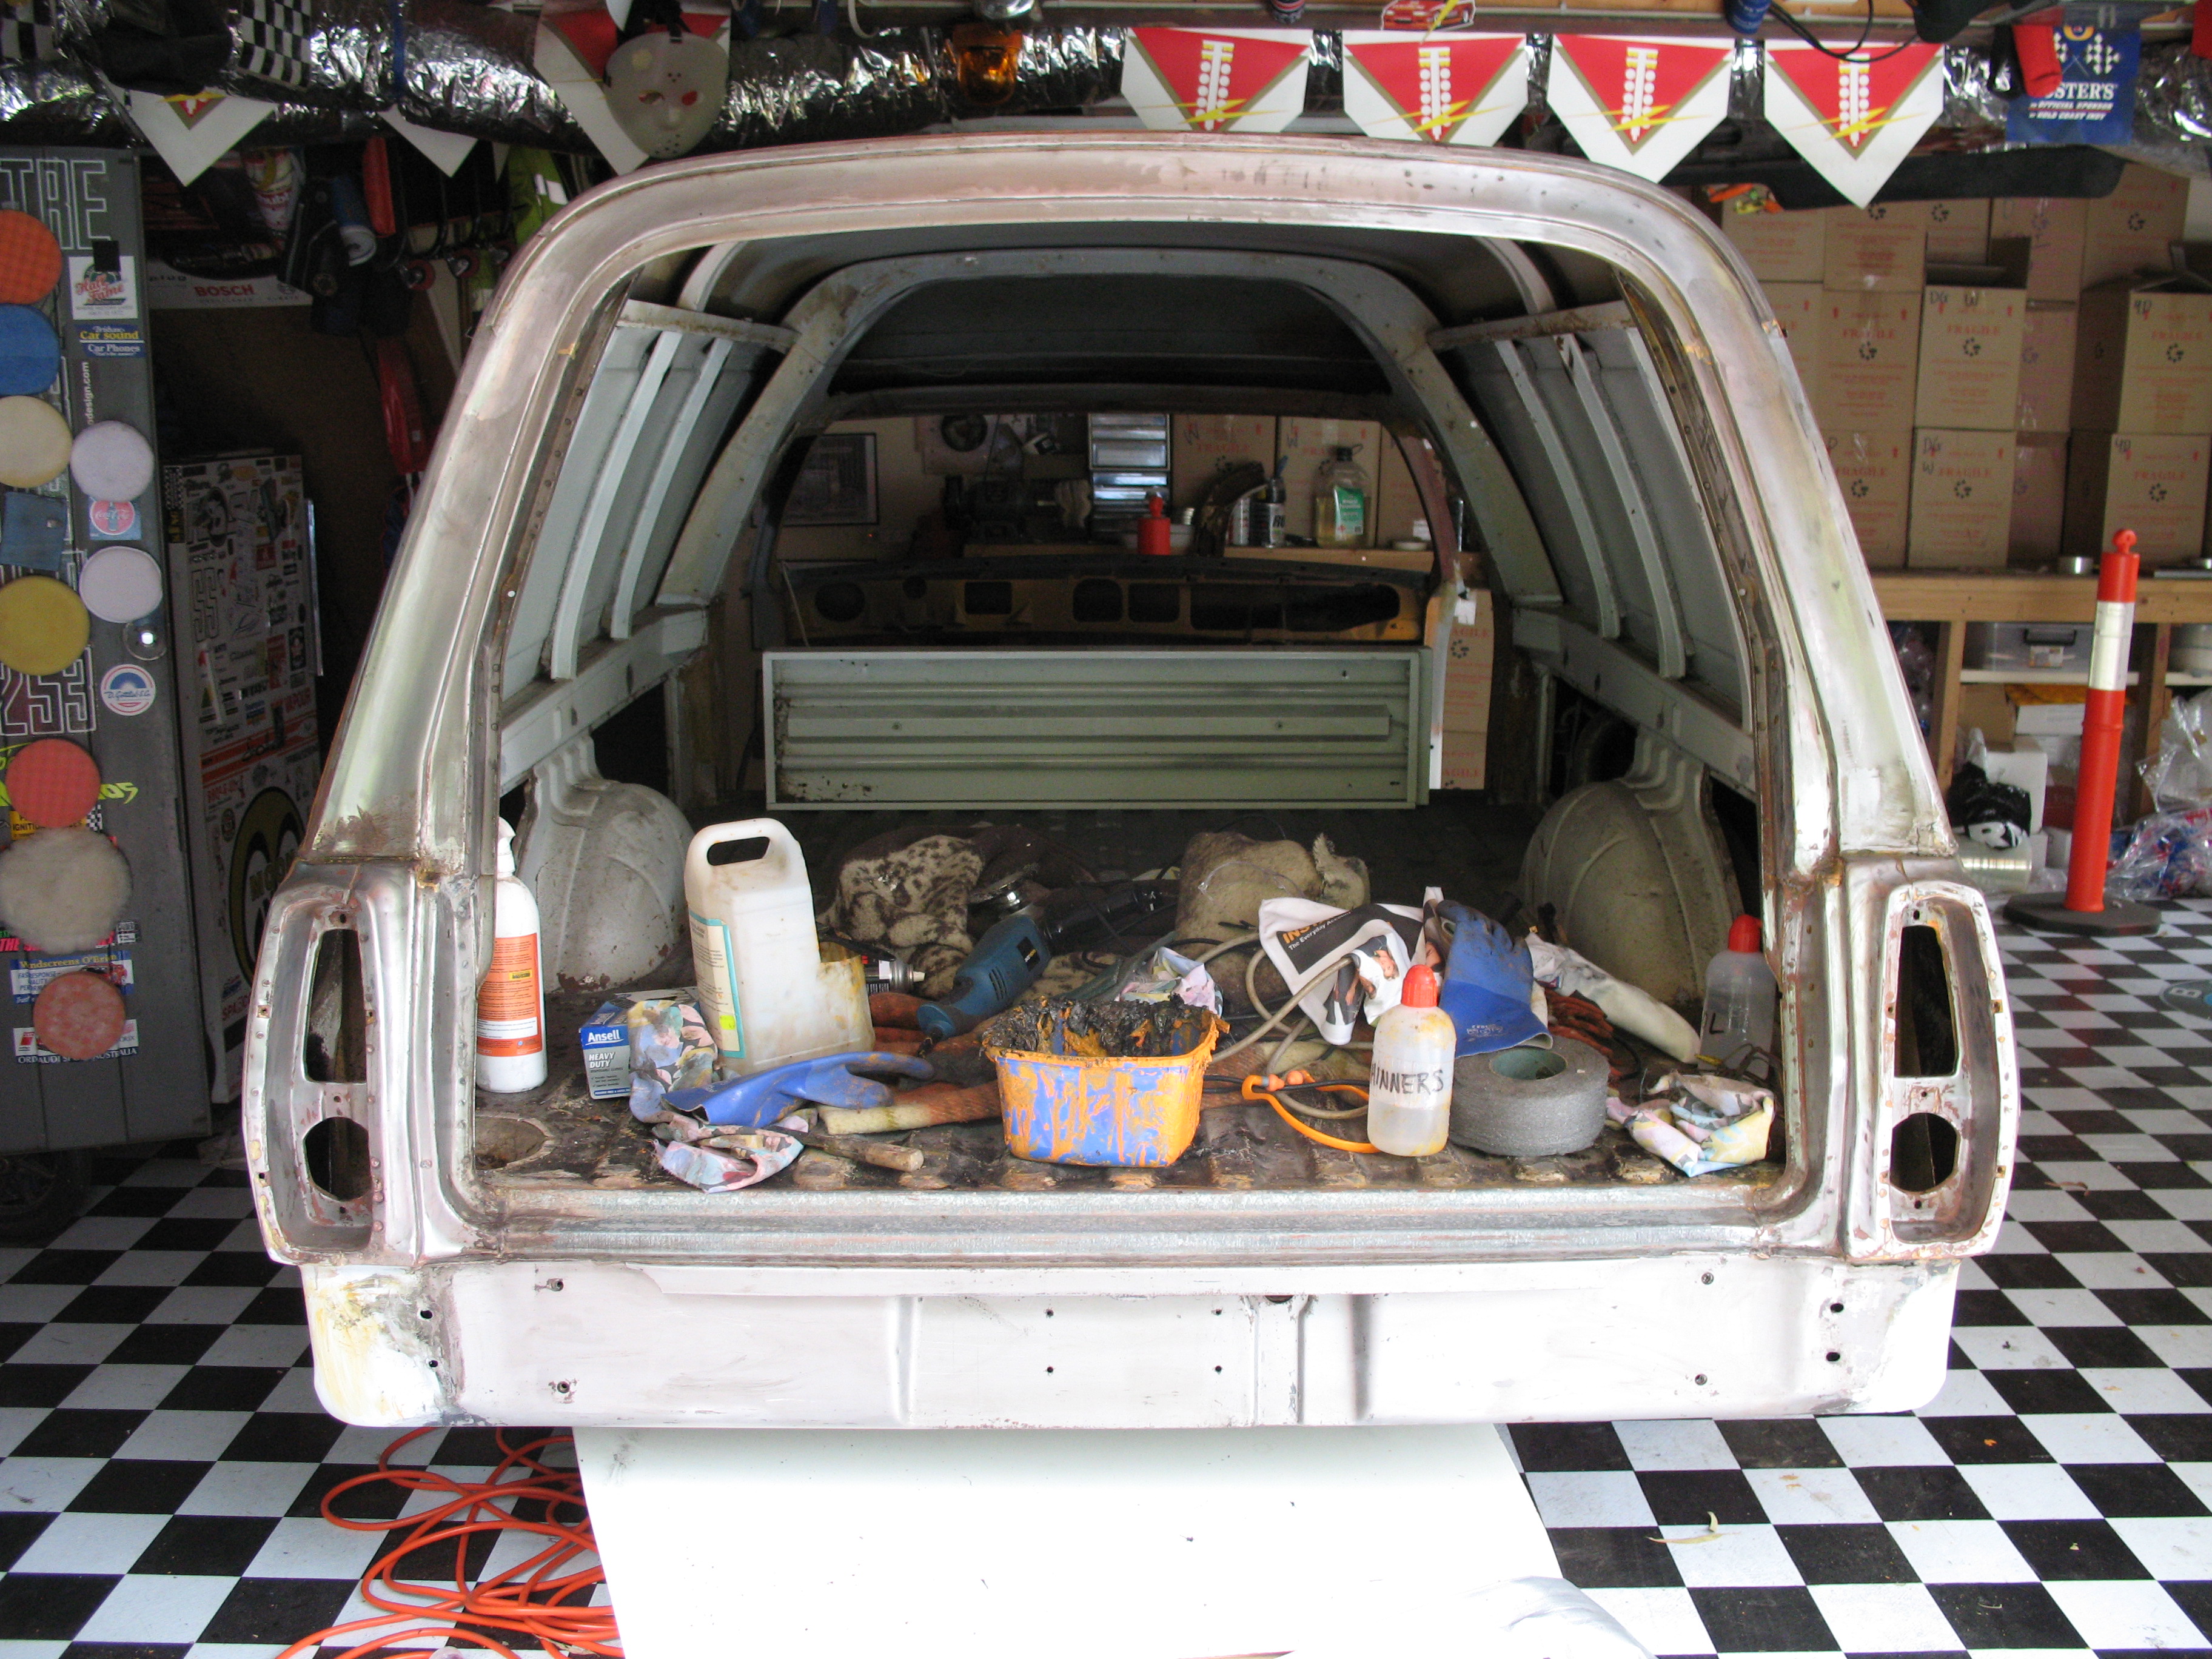
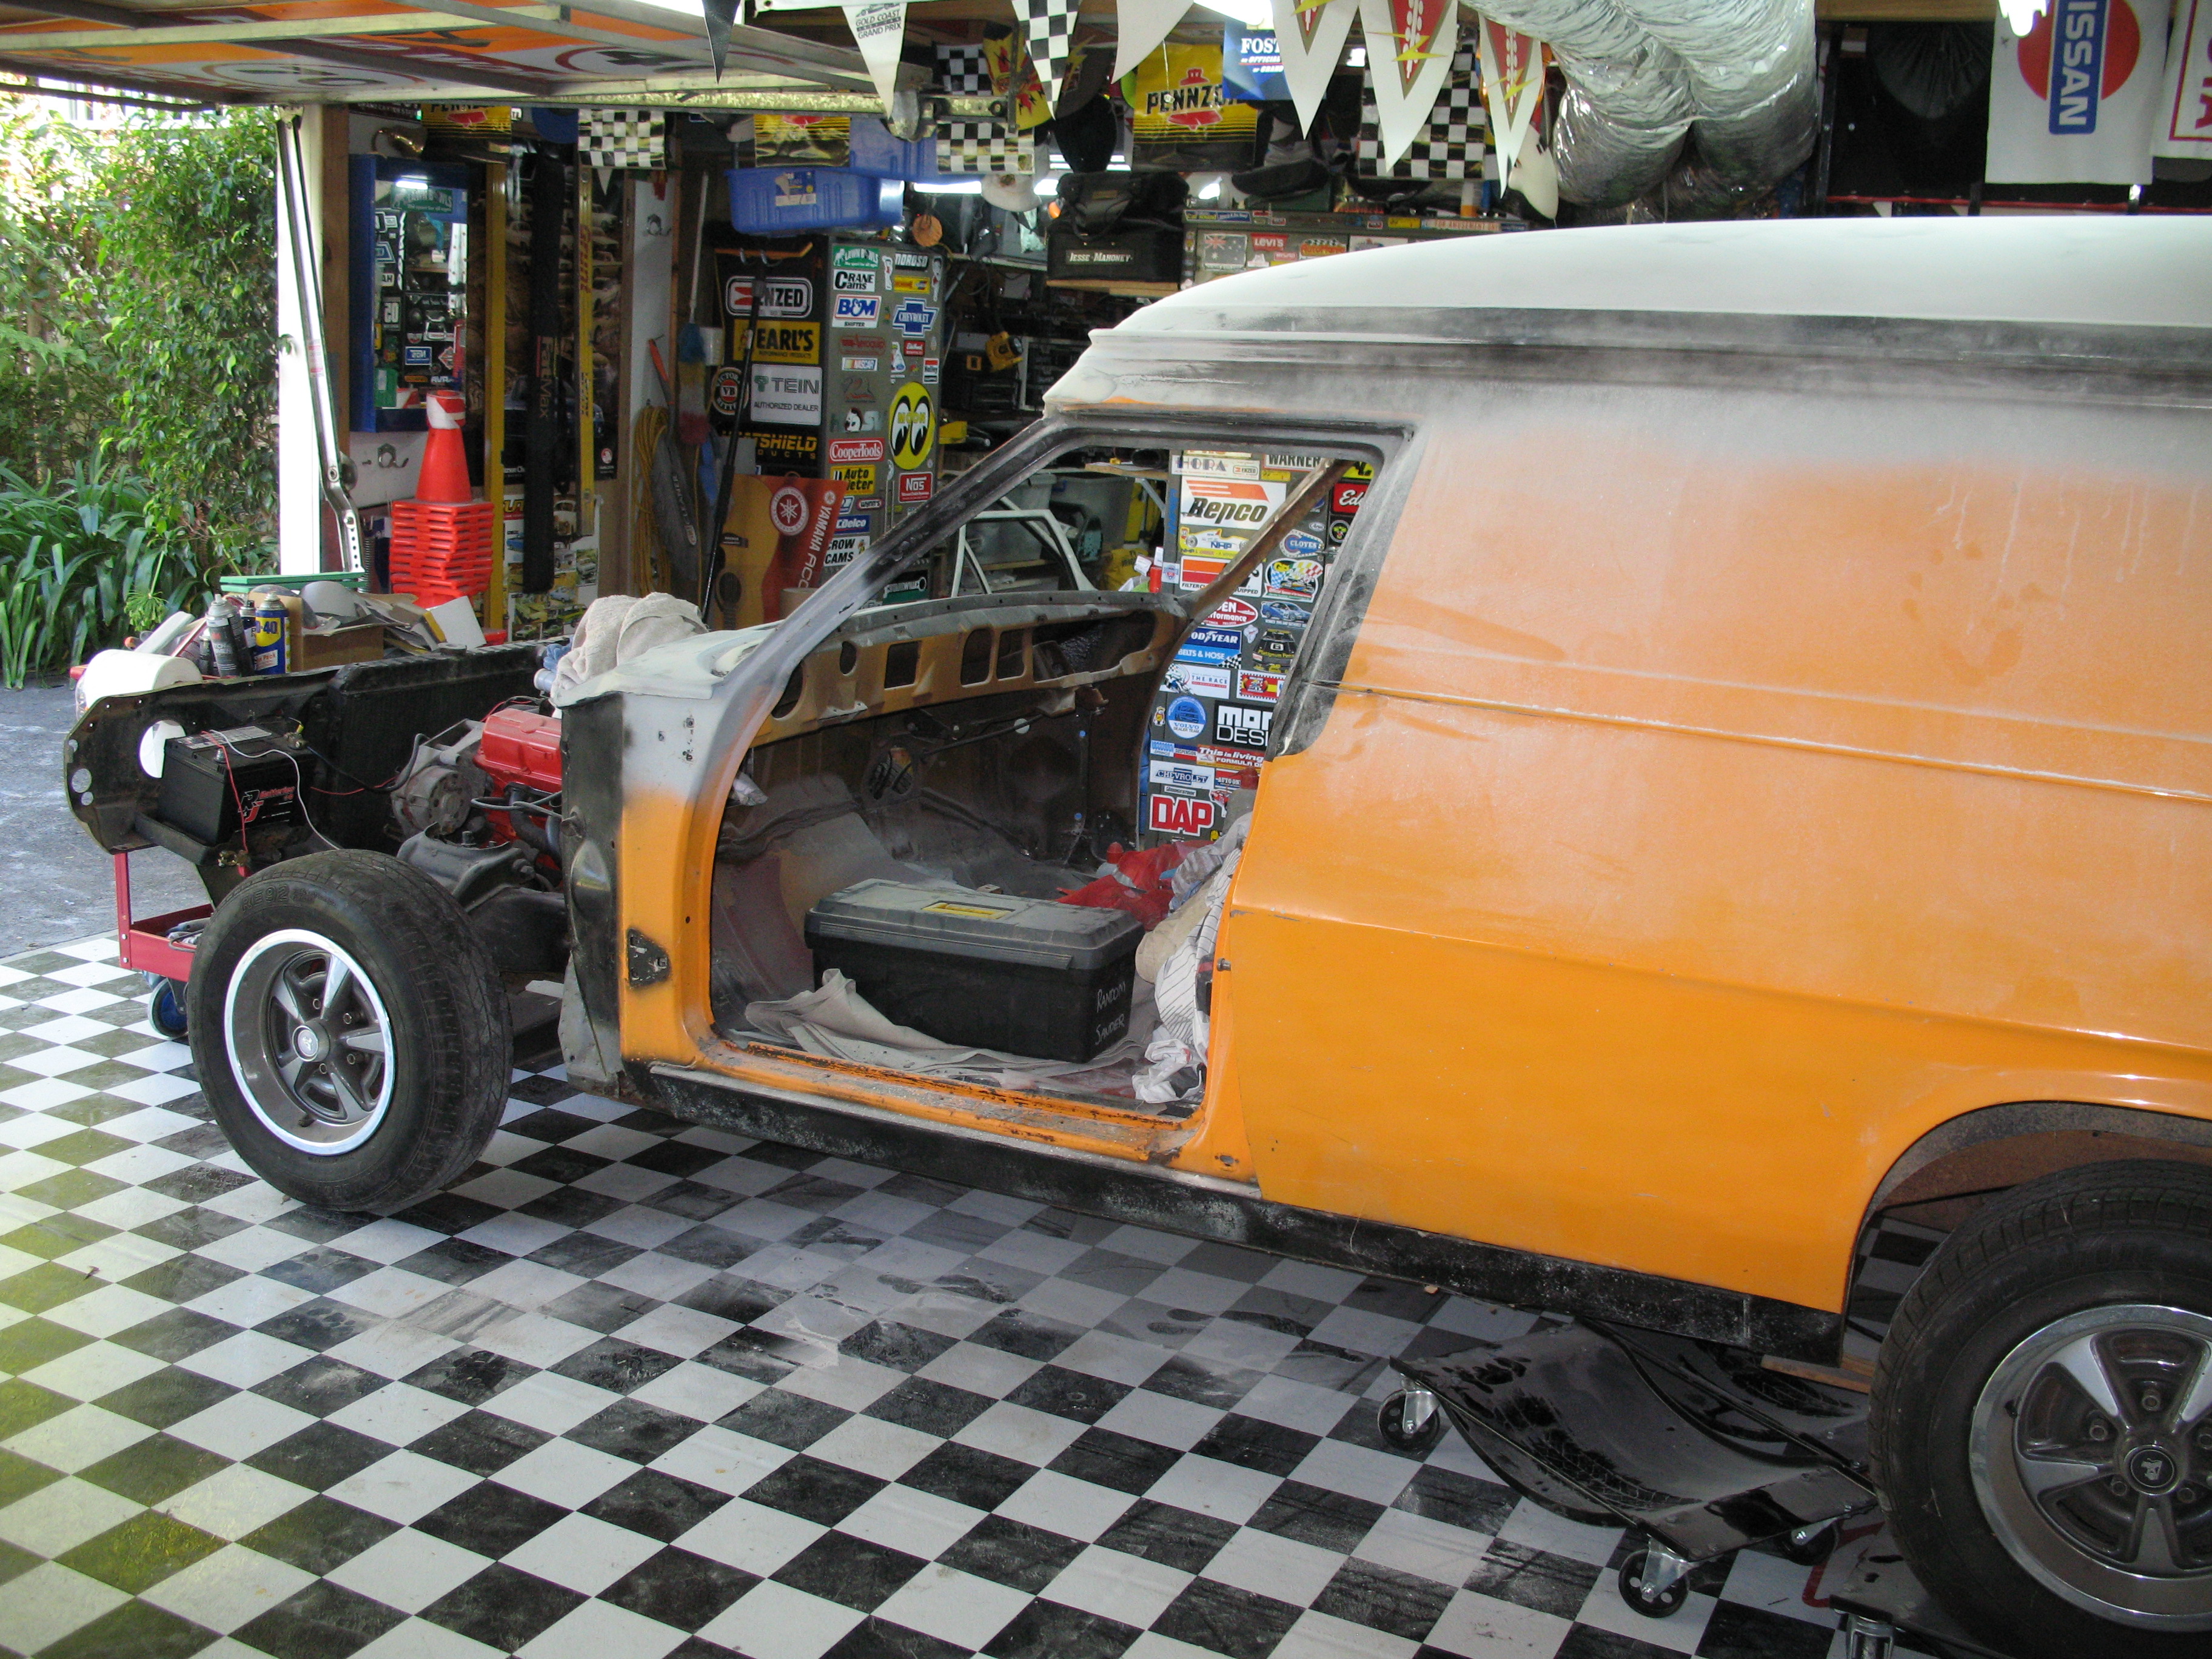
MORE STRIPPING !!
note the damaged section where the roof Arial was installed.... more of that later !
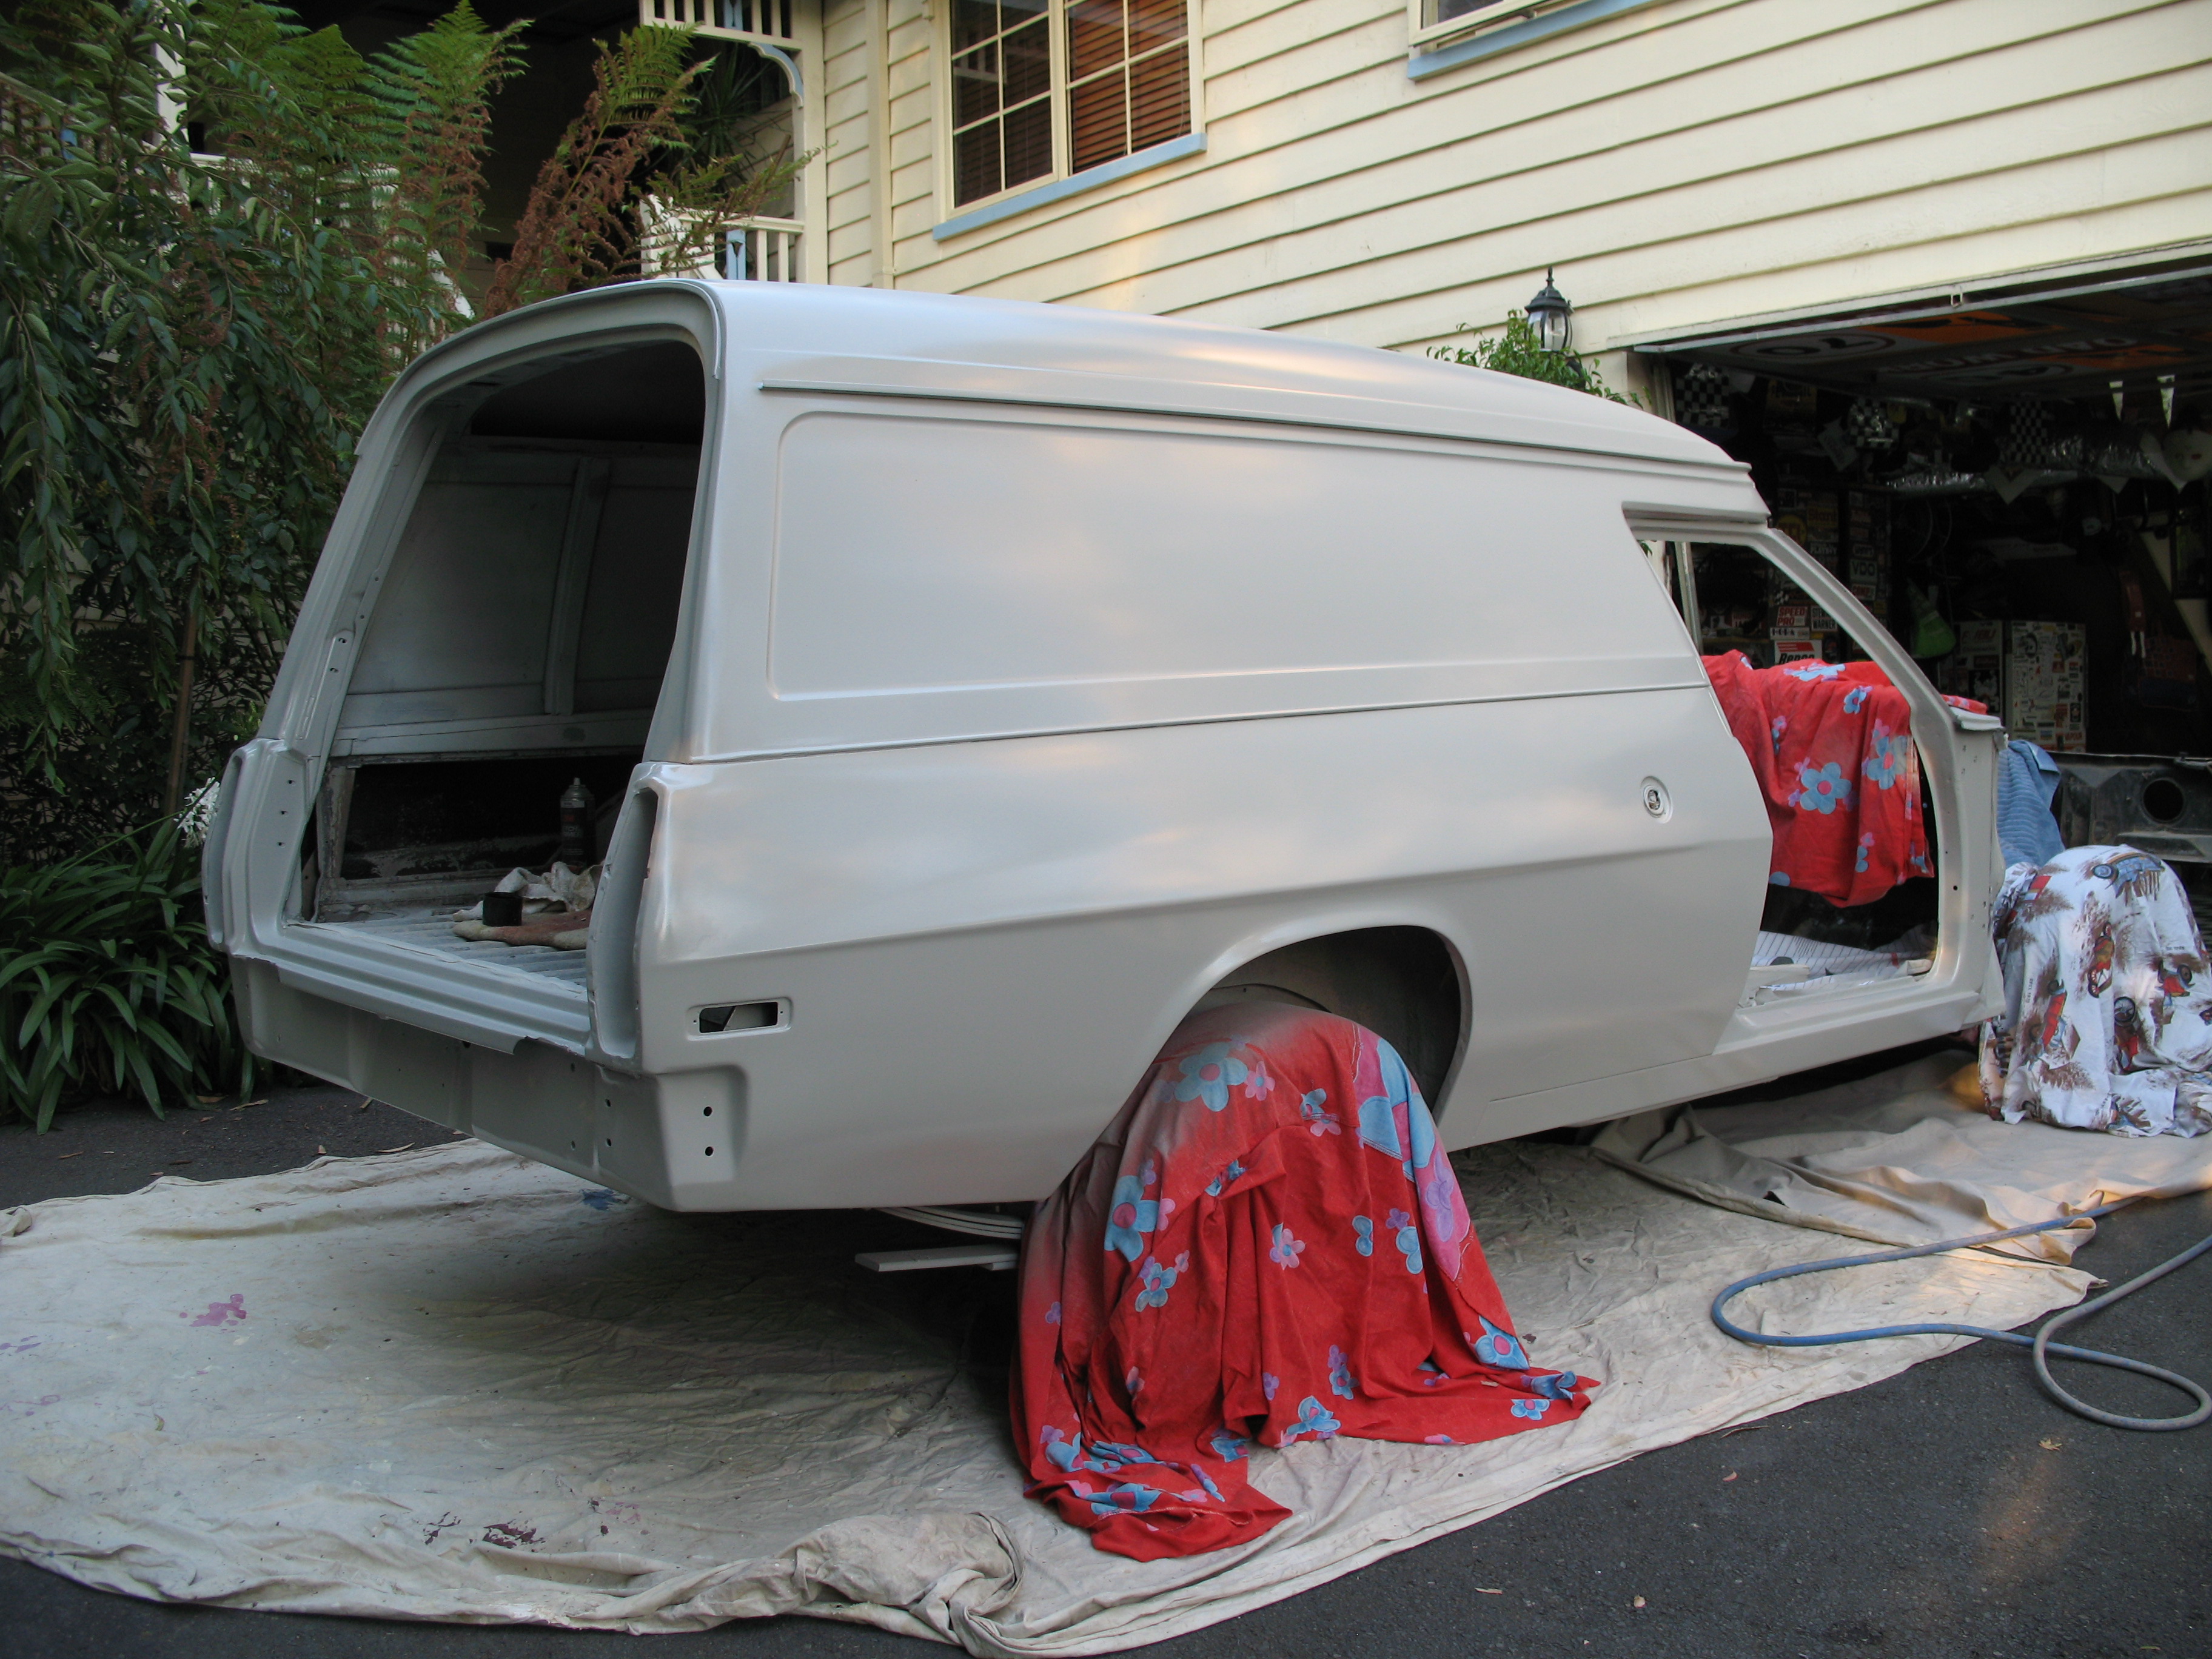
The beaver panel is in really good condition, 1 small rust repair to be done under side
no bog or damage to either tailight section


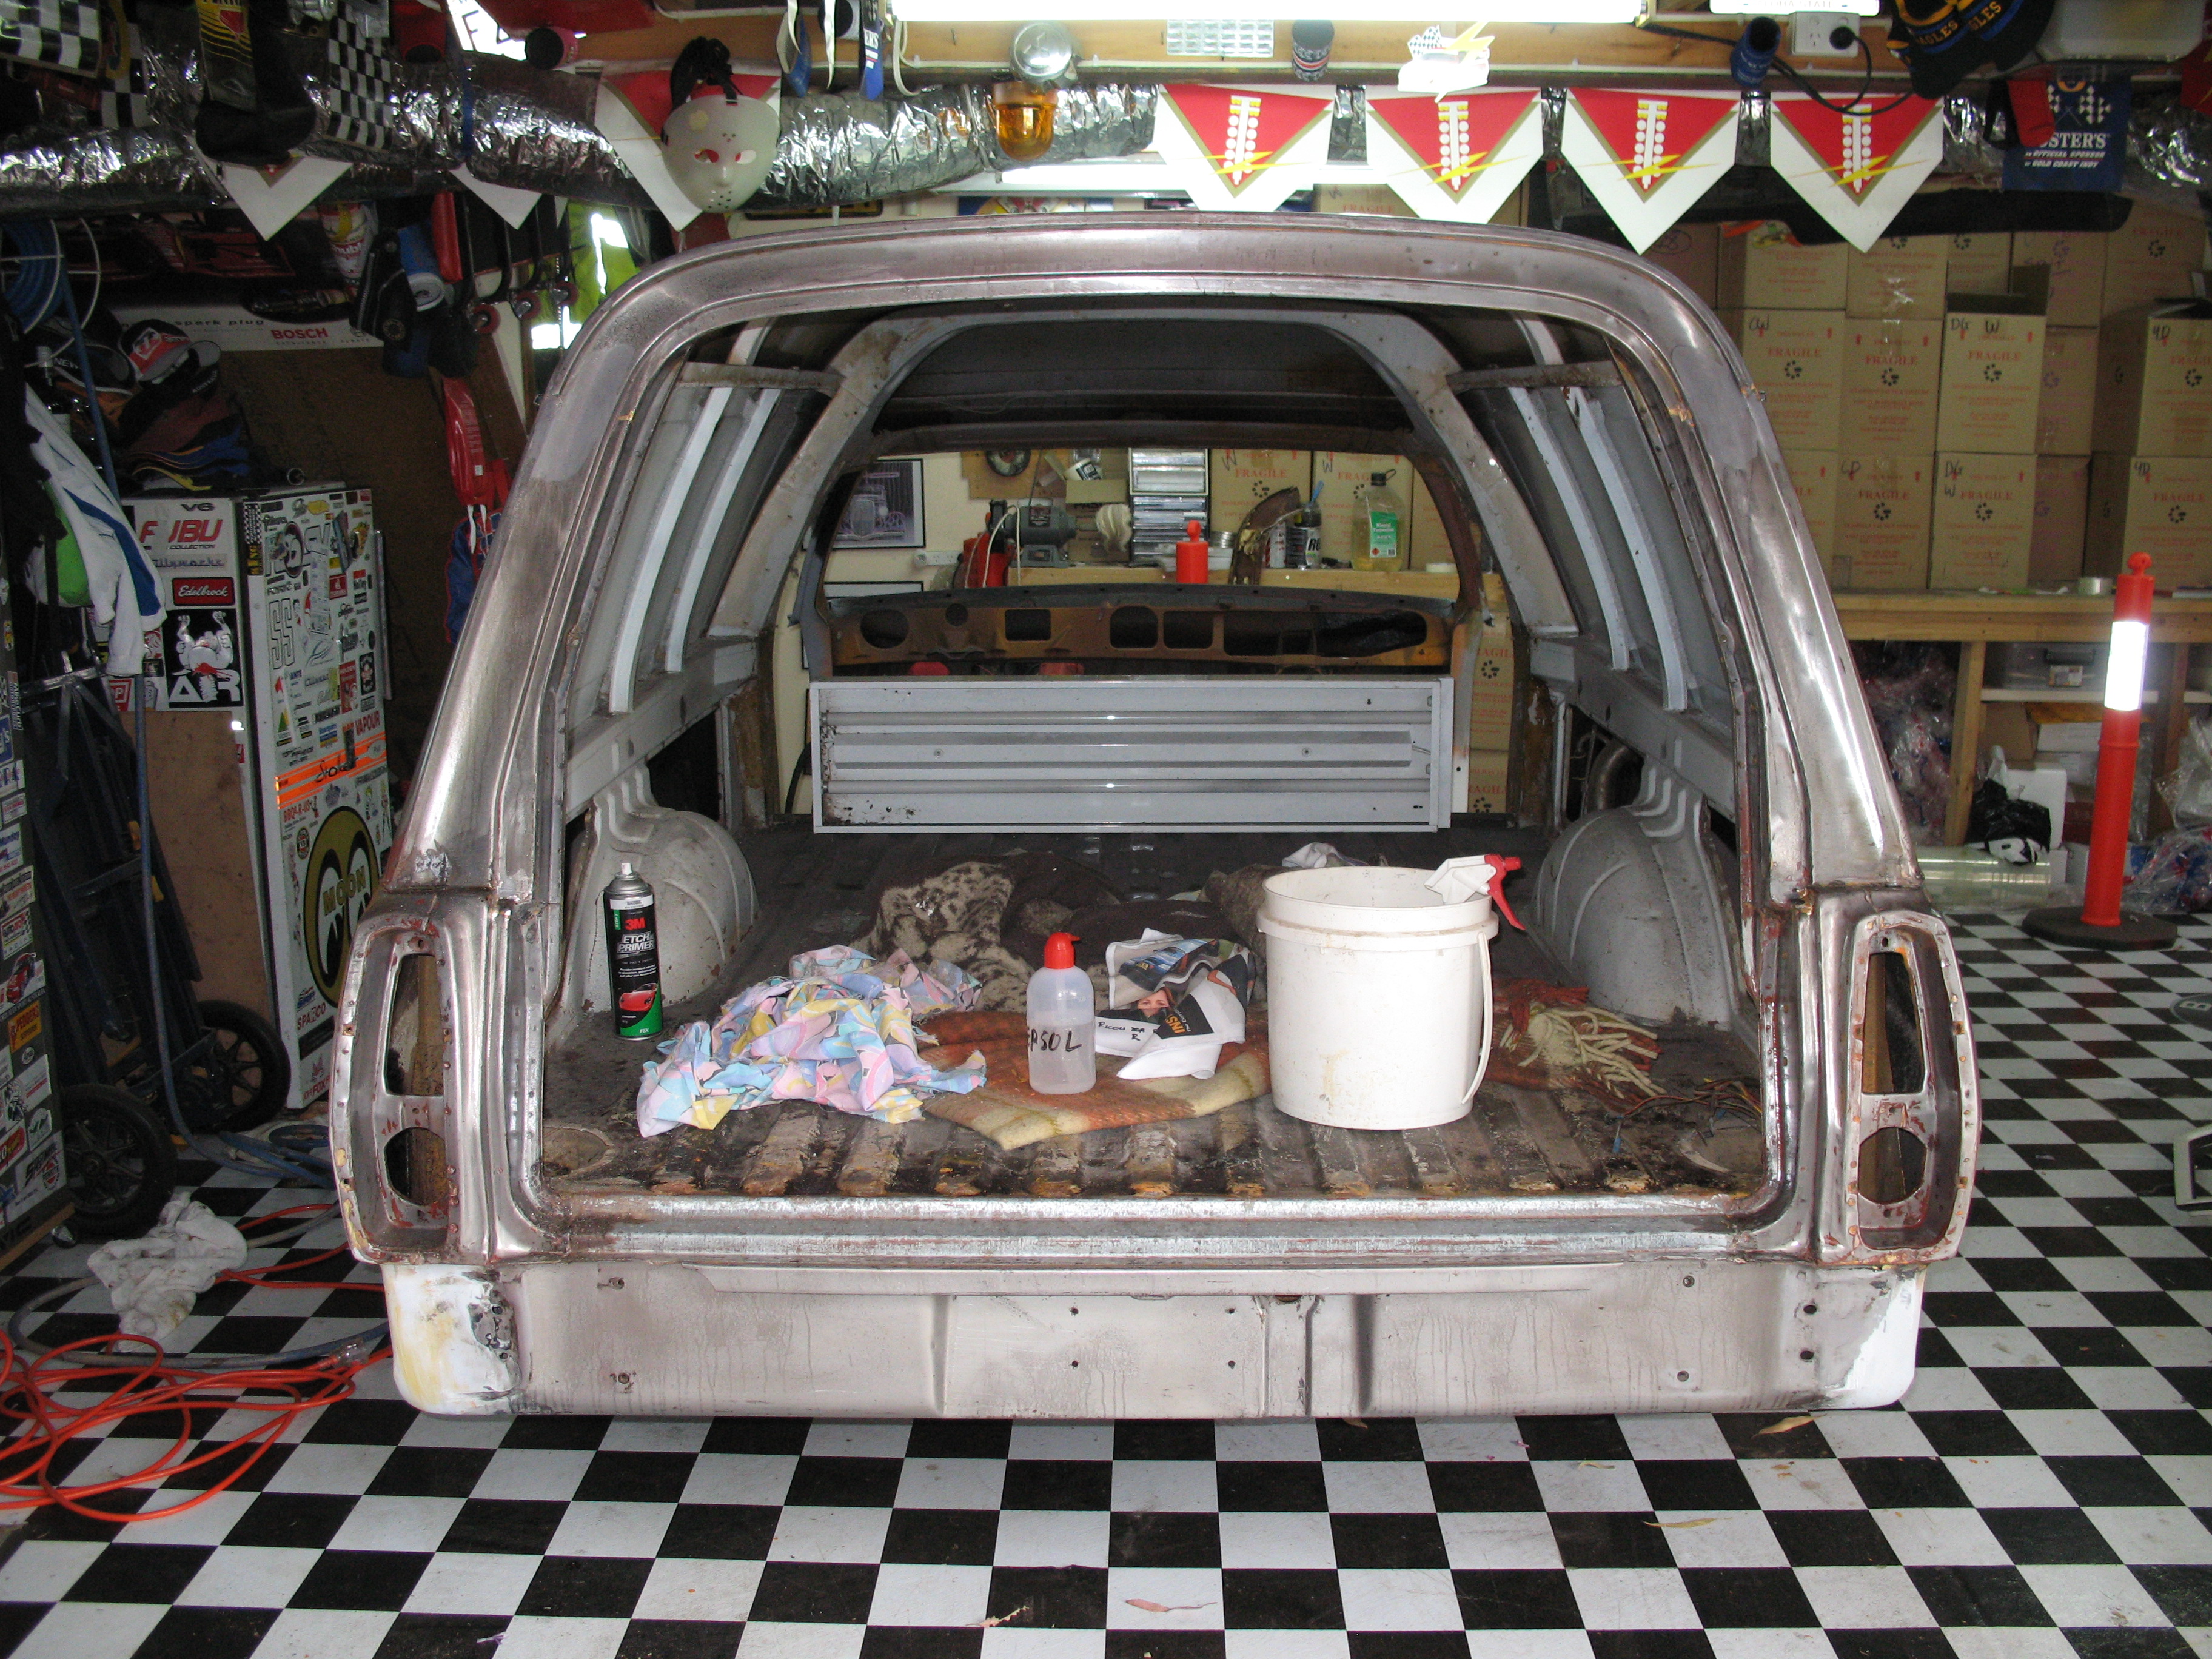
MORE STRIPPING !!
note the damaged section where the roof Arial was installed.... more of that later !
The beaver panel is in really good condition, 1 small rust repair to be done under side
no bog or damage to either tailight section
Last edited by Grunt; 06-05-2017 at 02:01 AM.
HX Sandman
Chevrolet Avalanche
HQ Wagon

Heaps of work there mate. Top job. Will be a great van when its finished. i always love papaya. Papaya toranas look great too.

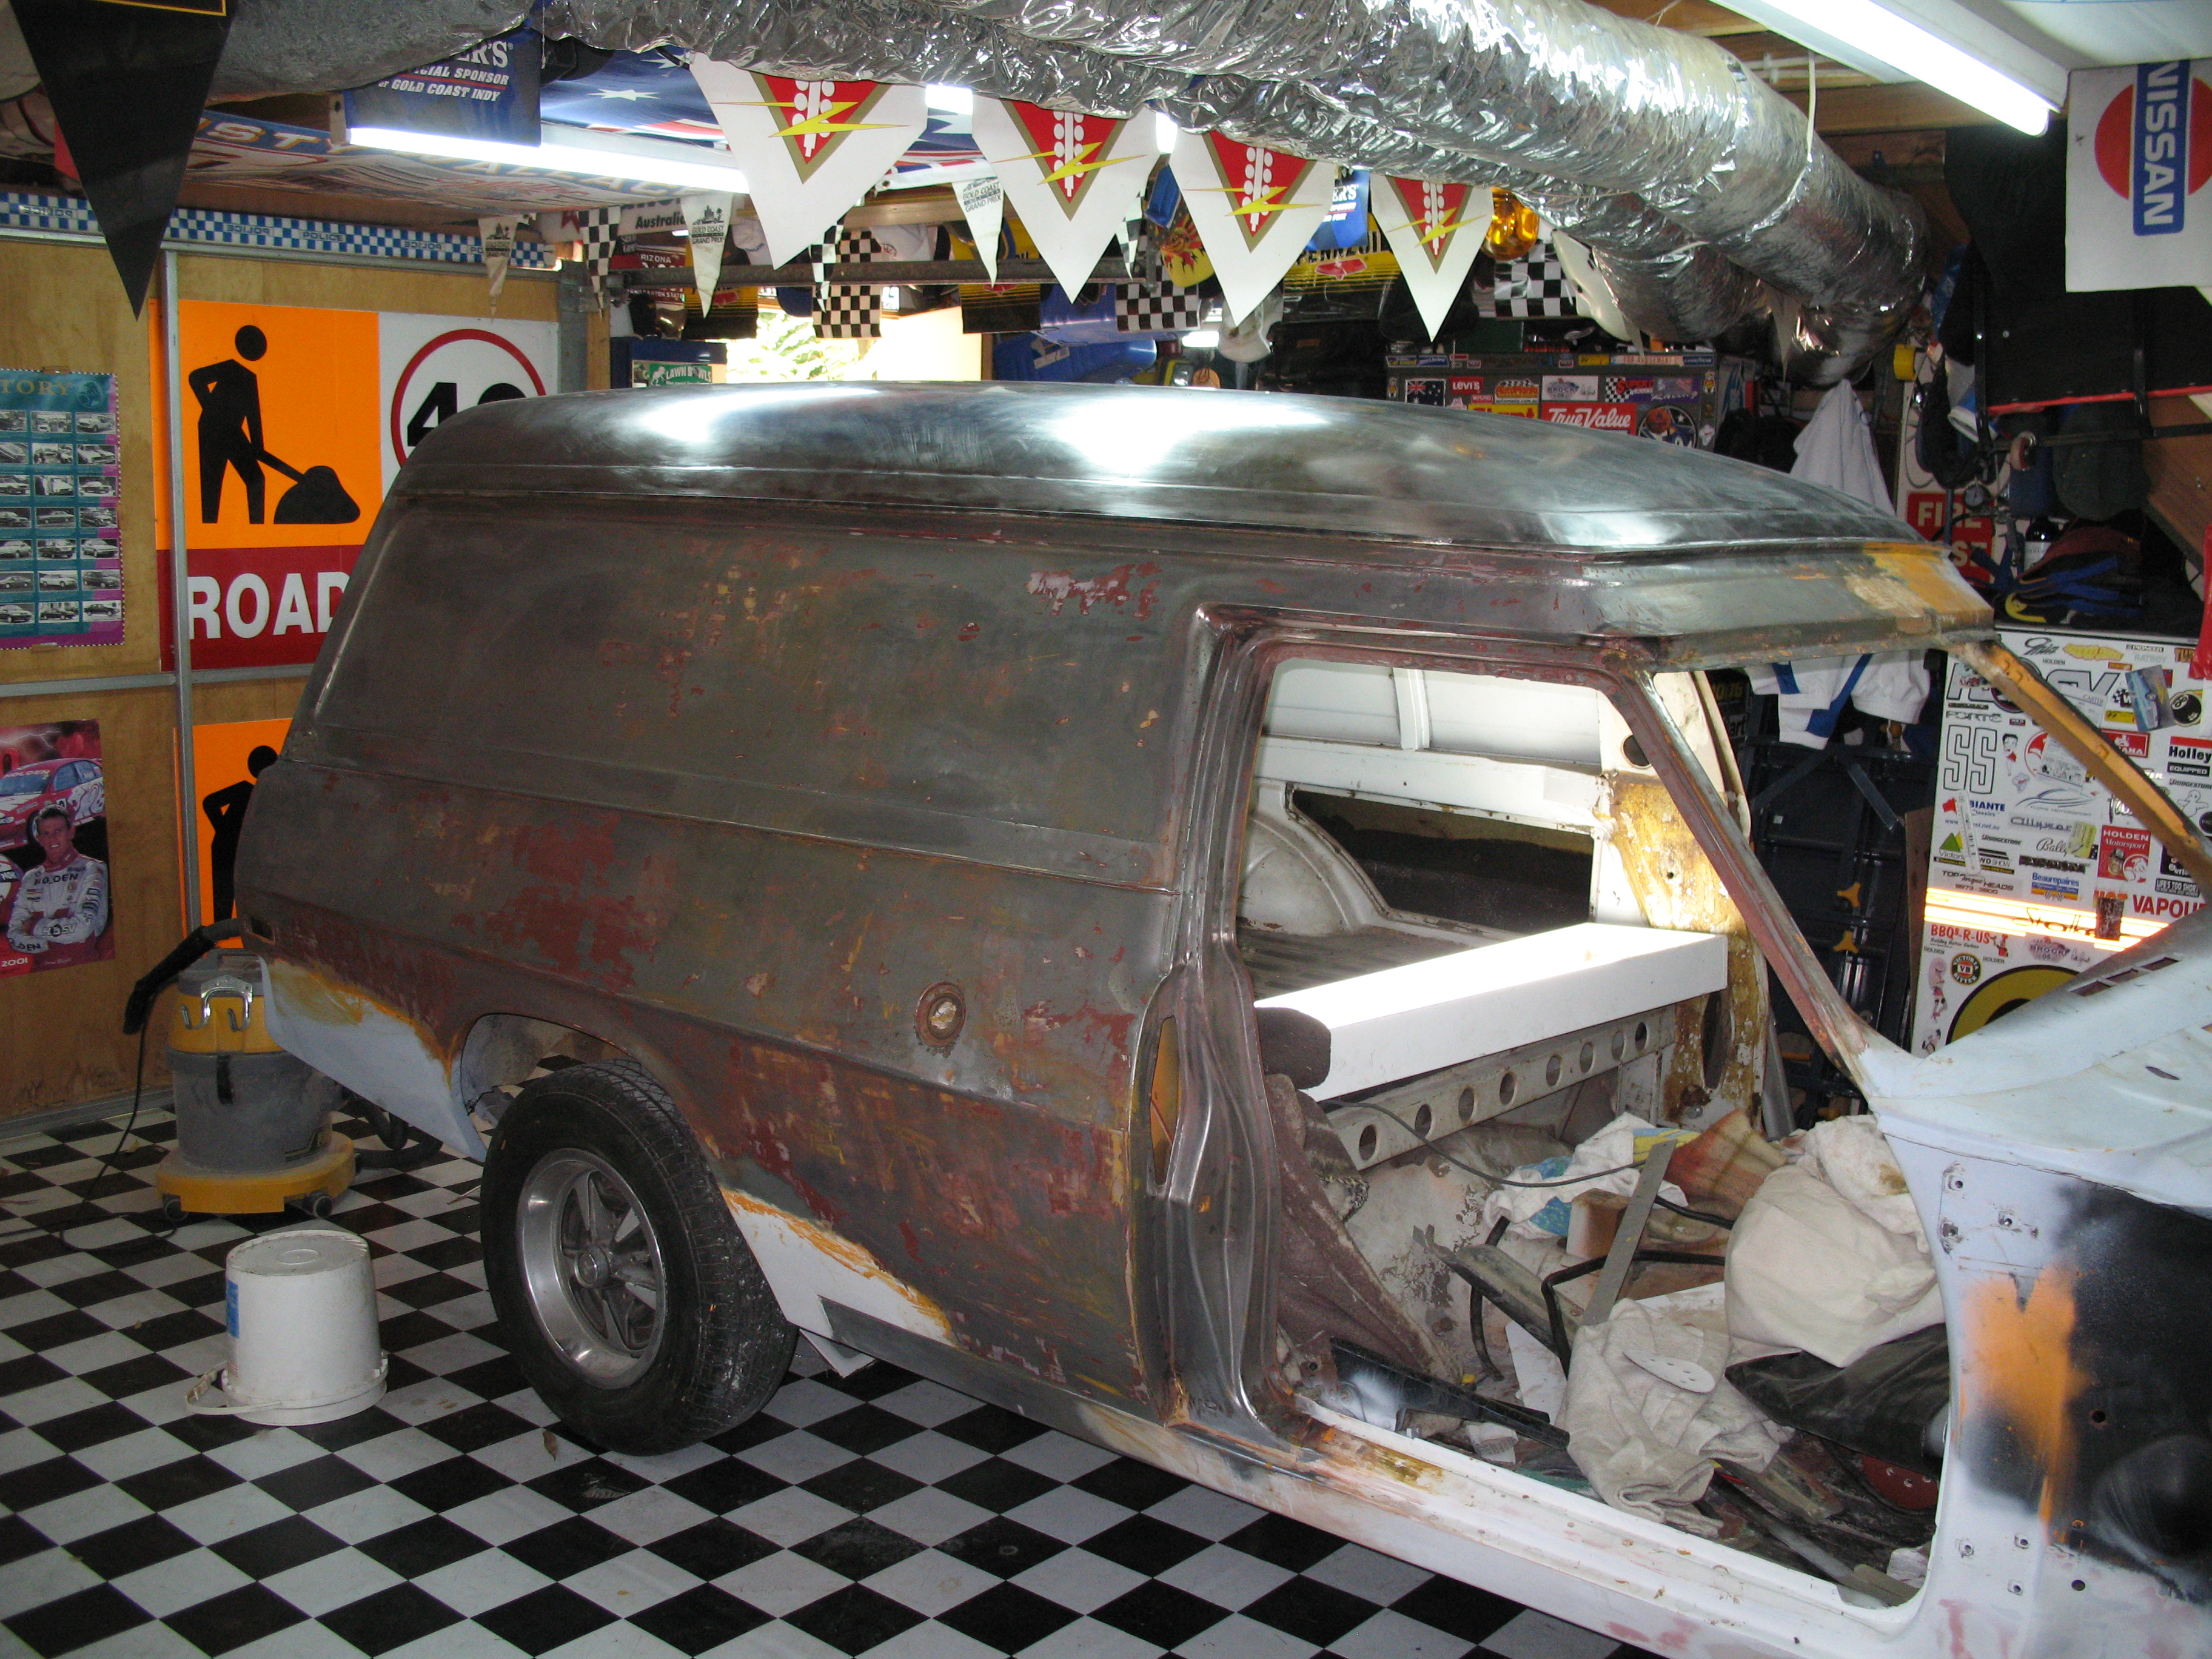
Looks like a good body underneath the paint did you use paint stripper or sanding

Loving the progress!! Good onya!!
That was my Easter, 4 days on my back. I used wire wheel on a grinder, round brush type wheel on another grinder and a dense small brush on a drill.Originally Posted by Gunna Do

No sanding needed the wire wheels took it back to bare metal
The paint I used was KBS rust seal http://www.kbs-coatings.com.au/kbs-rustseal The guy sho owns this company developed POR15, so the story goes. Its a self leveling polyurethane which I brushed on. Sticks very well and looks great. In the rear wheel wells I used paint on body deadner.
Her is what KBS say about rust seal
KBS RustSeal is a superior one part, ready-to-use, high-solid content, rust preventive coating / rust paint / sealer, that is actually strengthened by exposure to moisture. It is impervious to road salts and most every chemical. RustSeal flows out to a beautiful, rock-hard, tough coating that is tough to chip or scratch.
HX Sandman
Chevrolet Avalanche
HQ Wagon
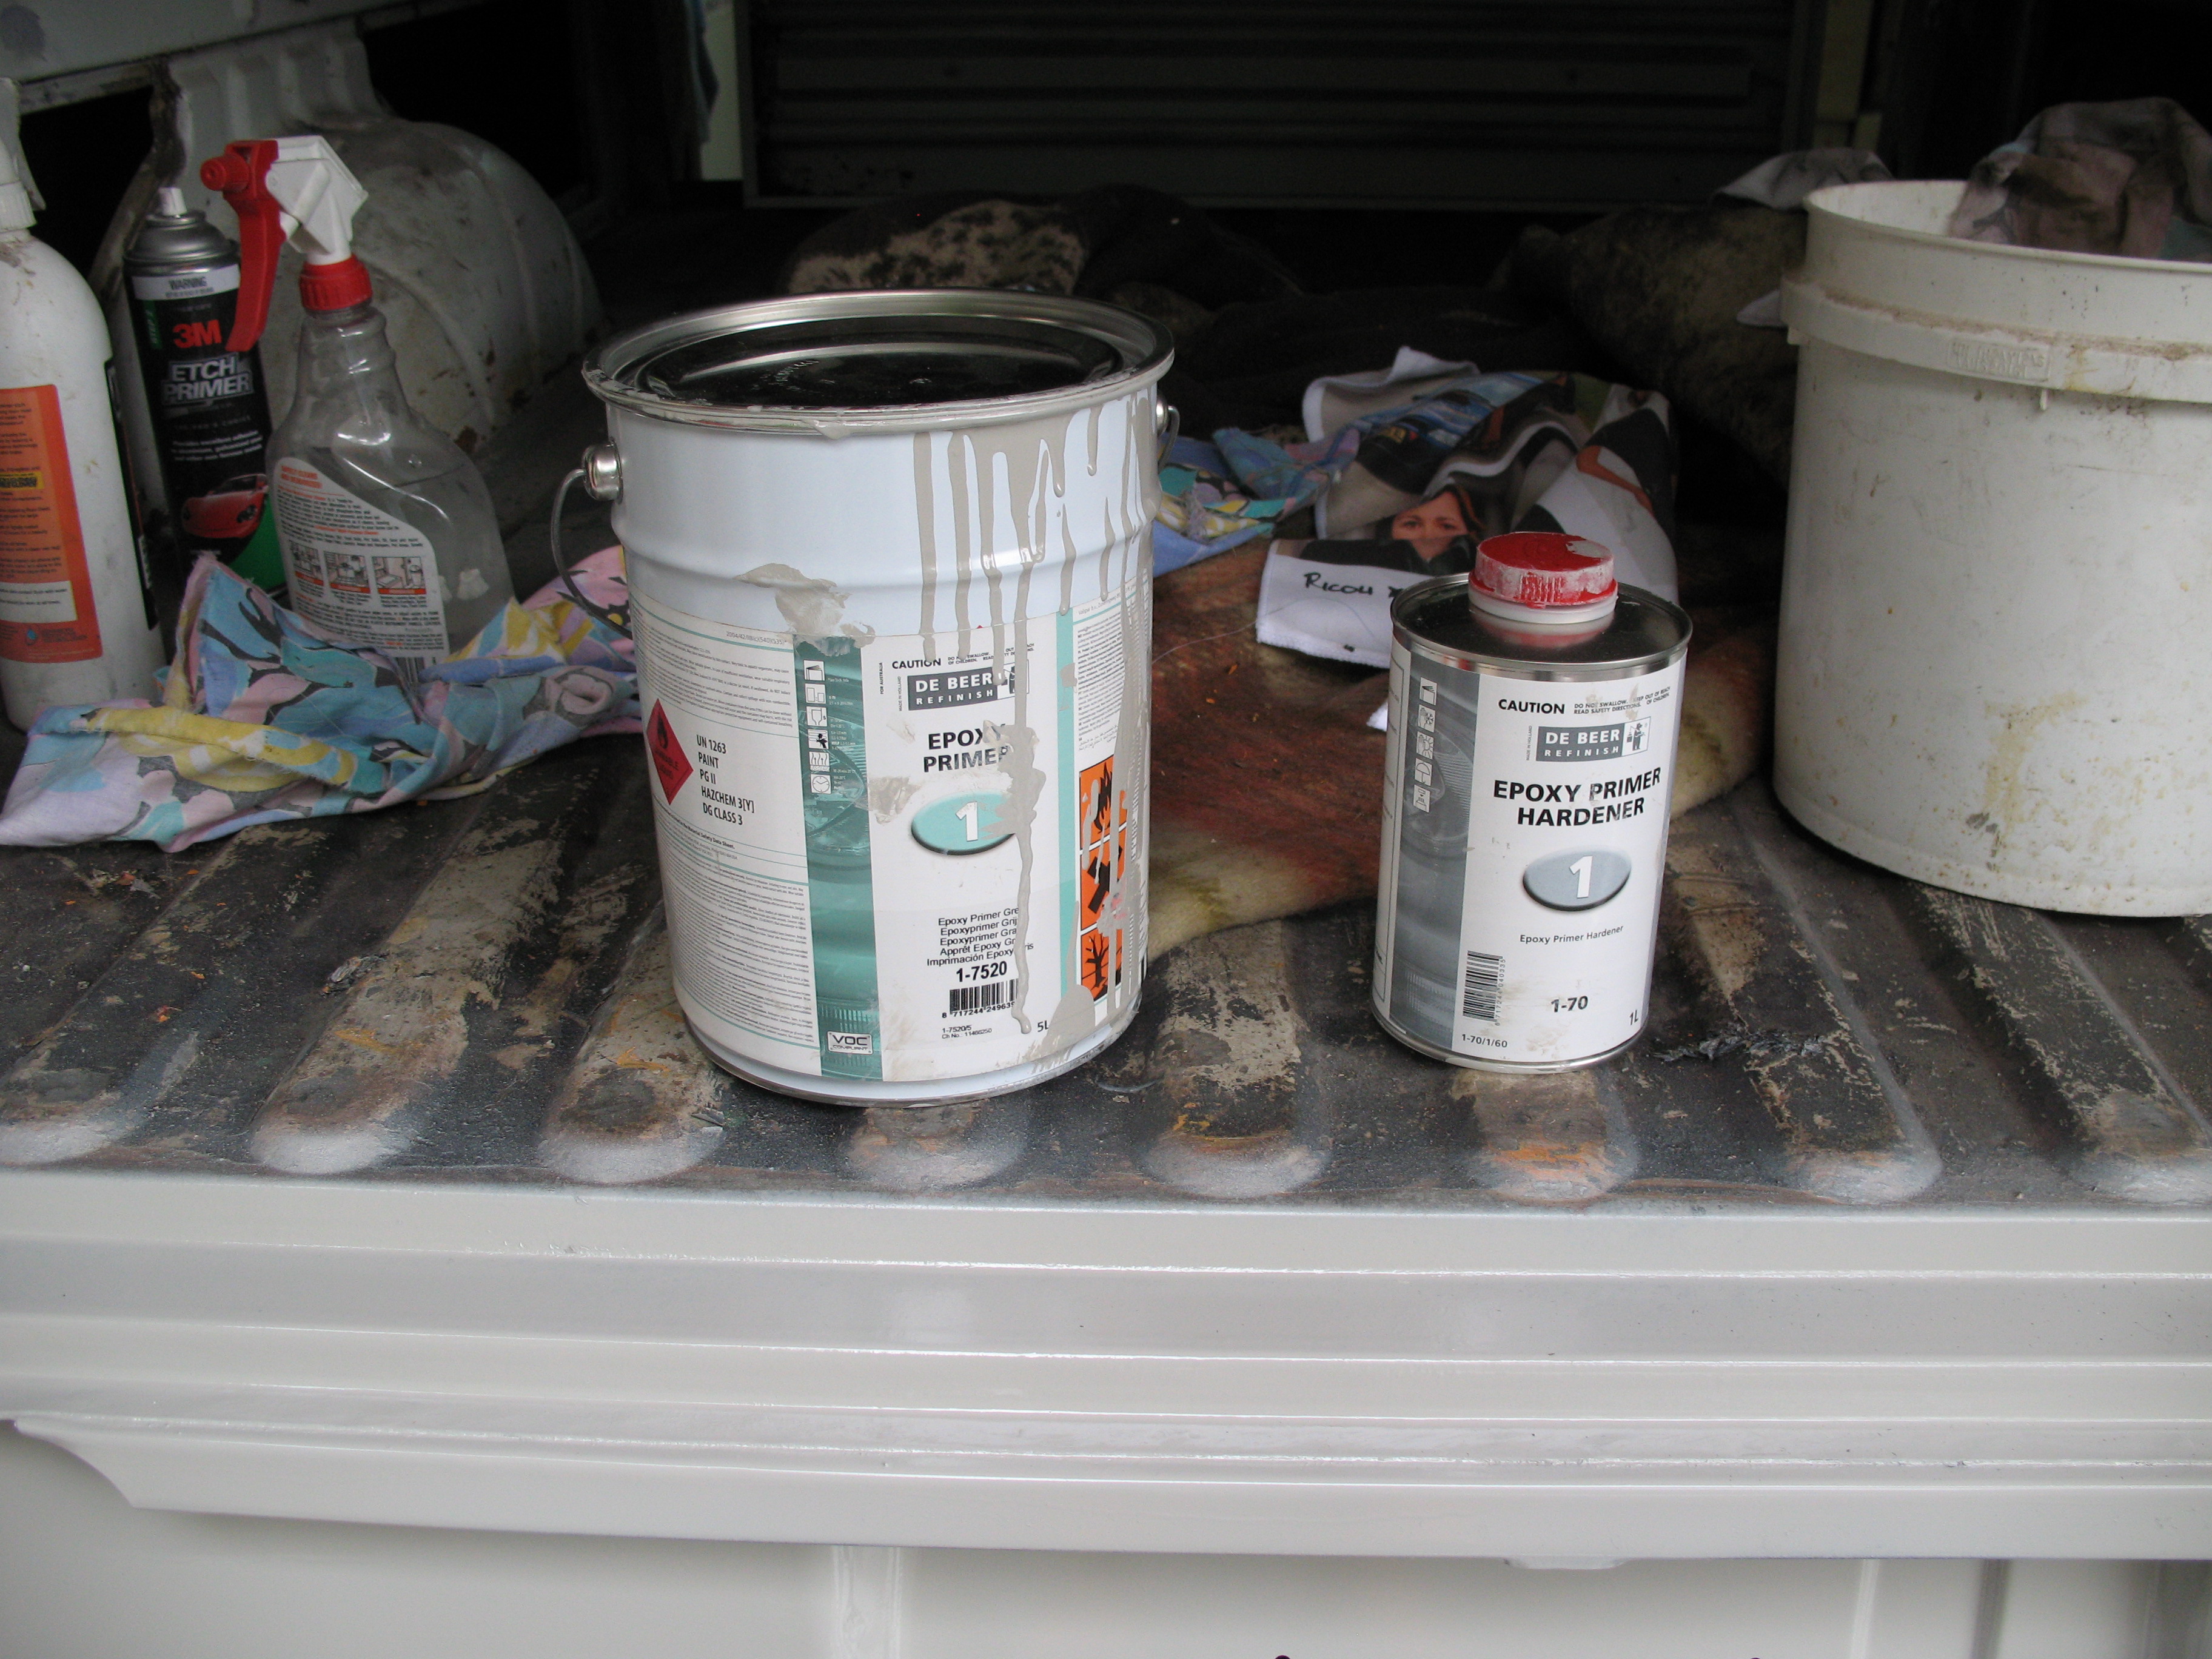
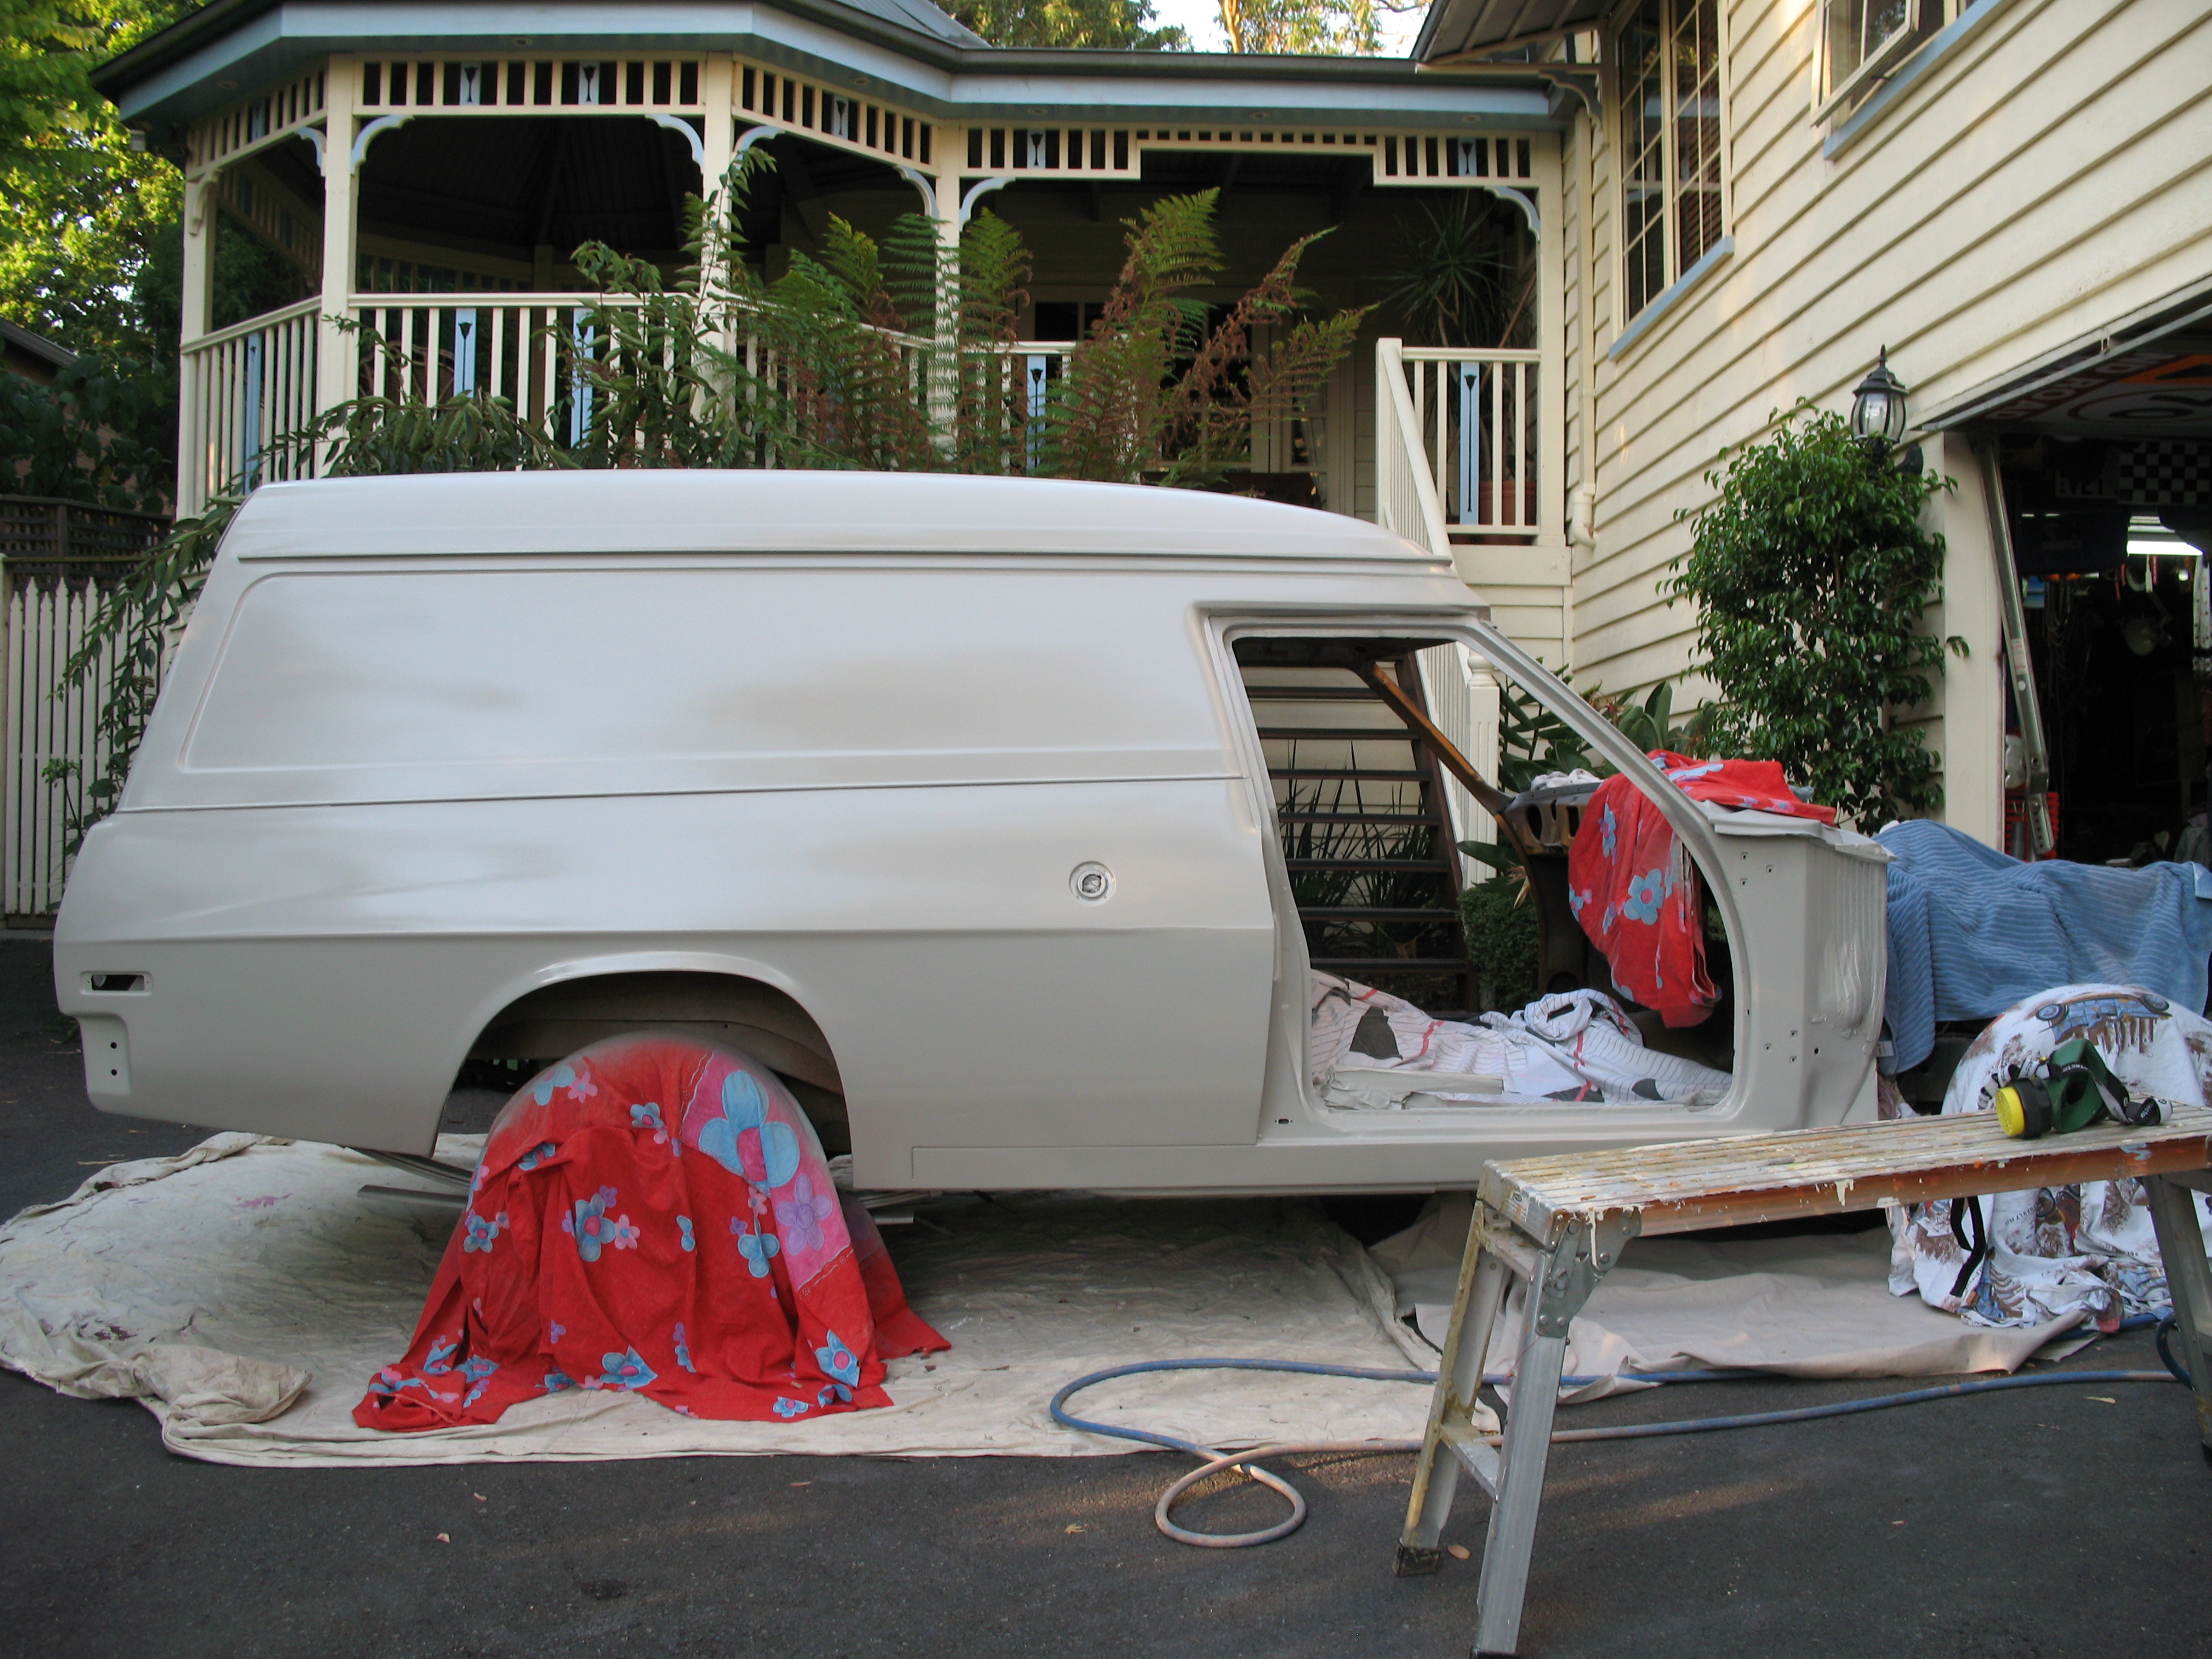
The time has come to thgrow some paint around. I hat leaving bare metal any longer than needed. I know everyone has their own thoughts on paint, pre etch. I mean your talking to a bloke who spent a week doing metal reairs and where needed only to read a few articles on lead and paint reactions. I went back and melted it all out again and chose a high quaility filler insted. These areas were skin coats to cover grinding marks etc.
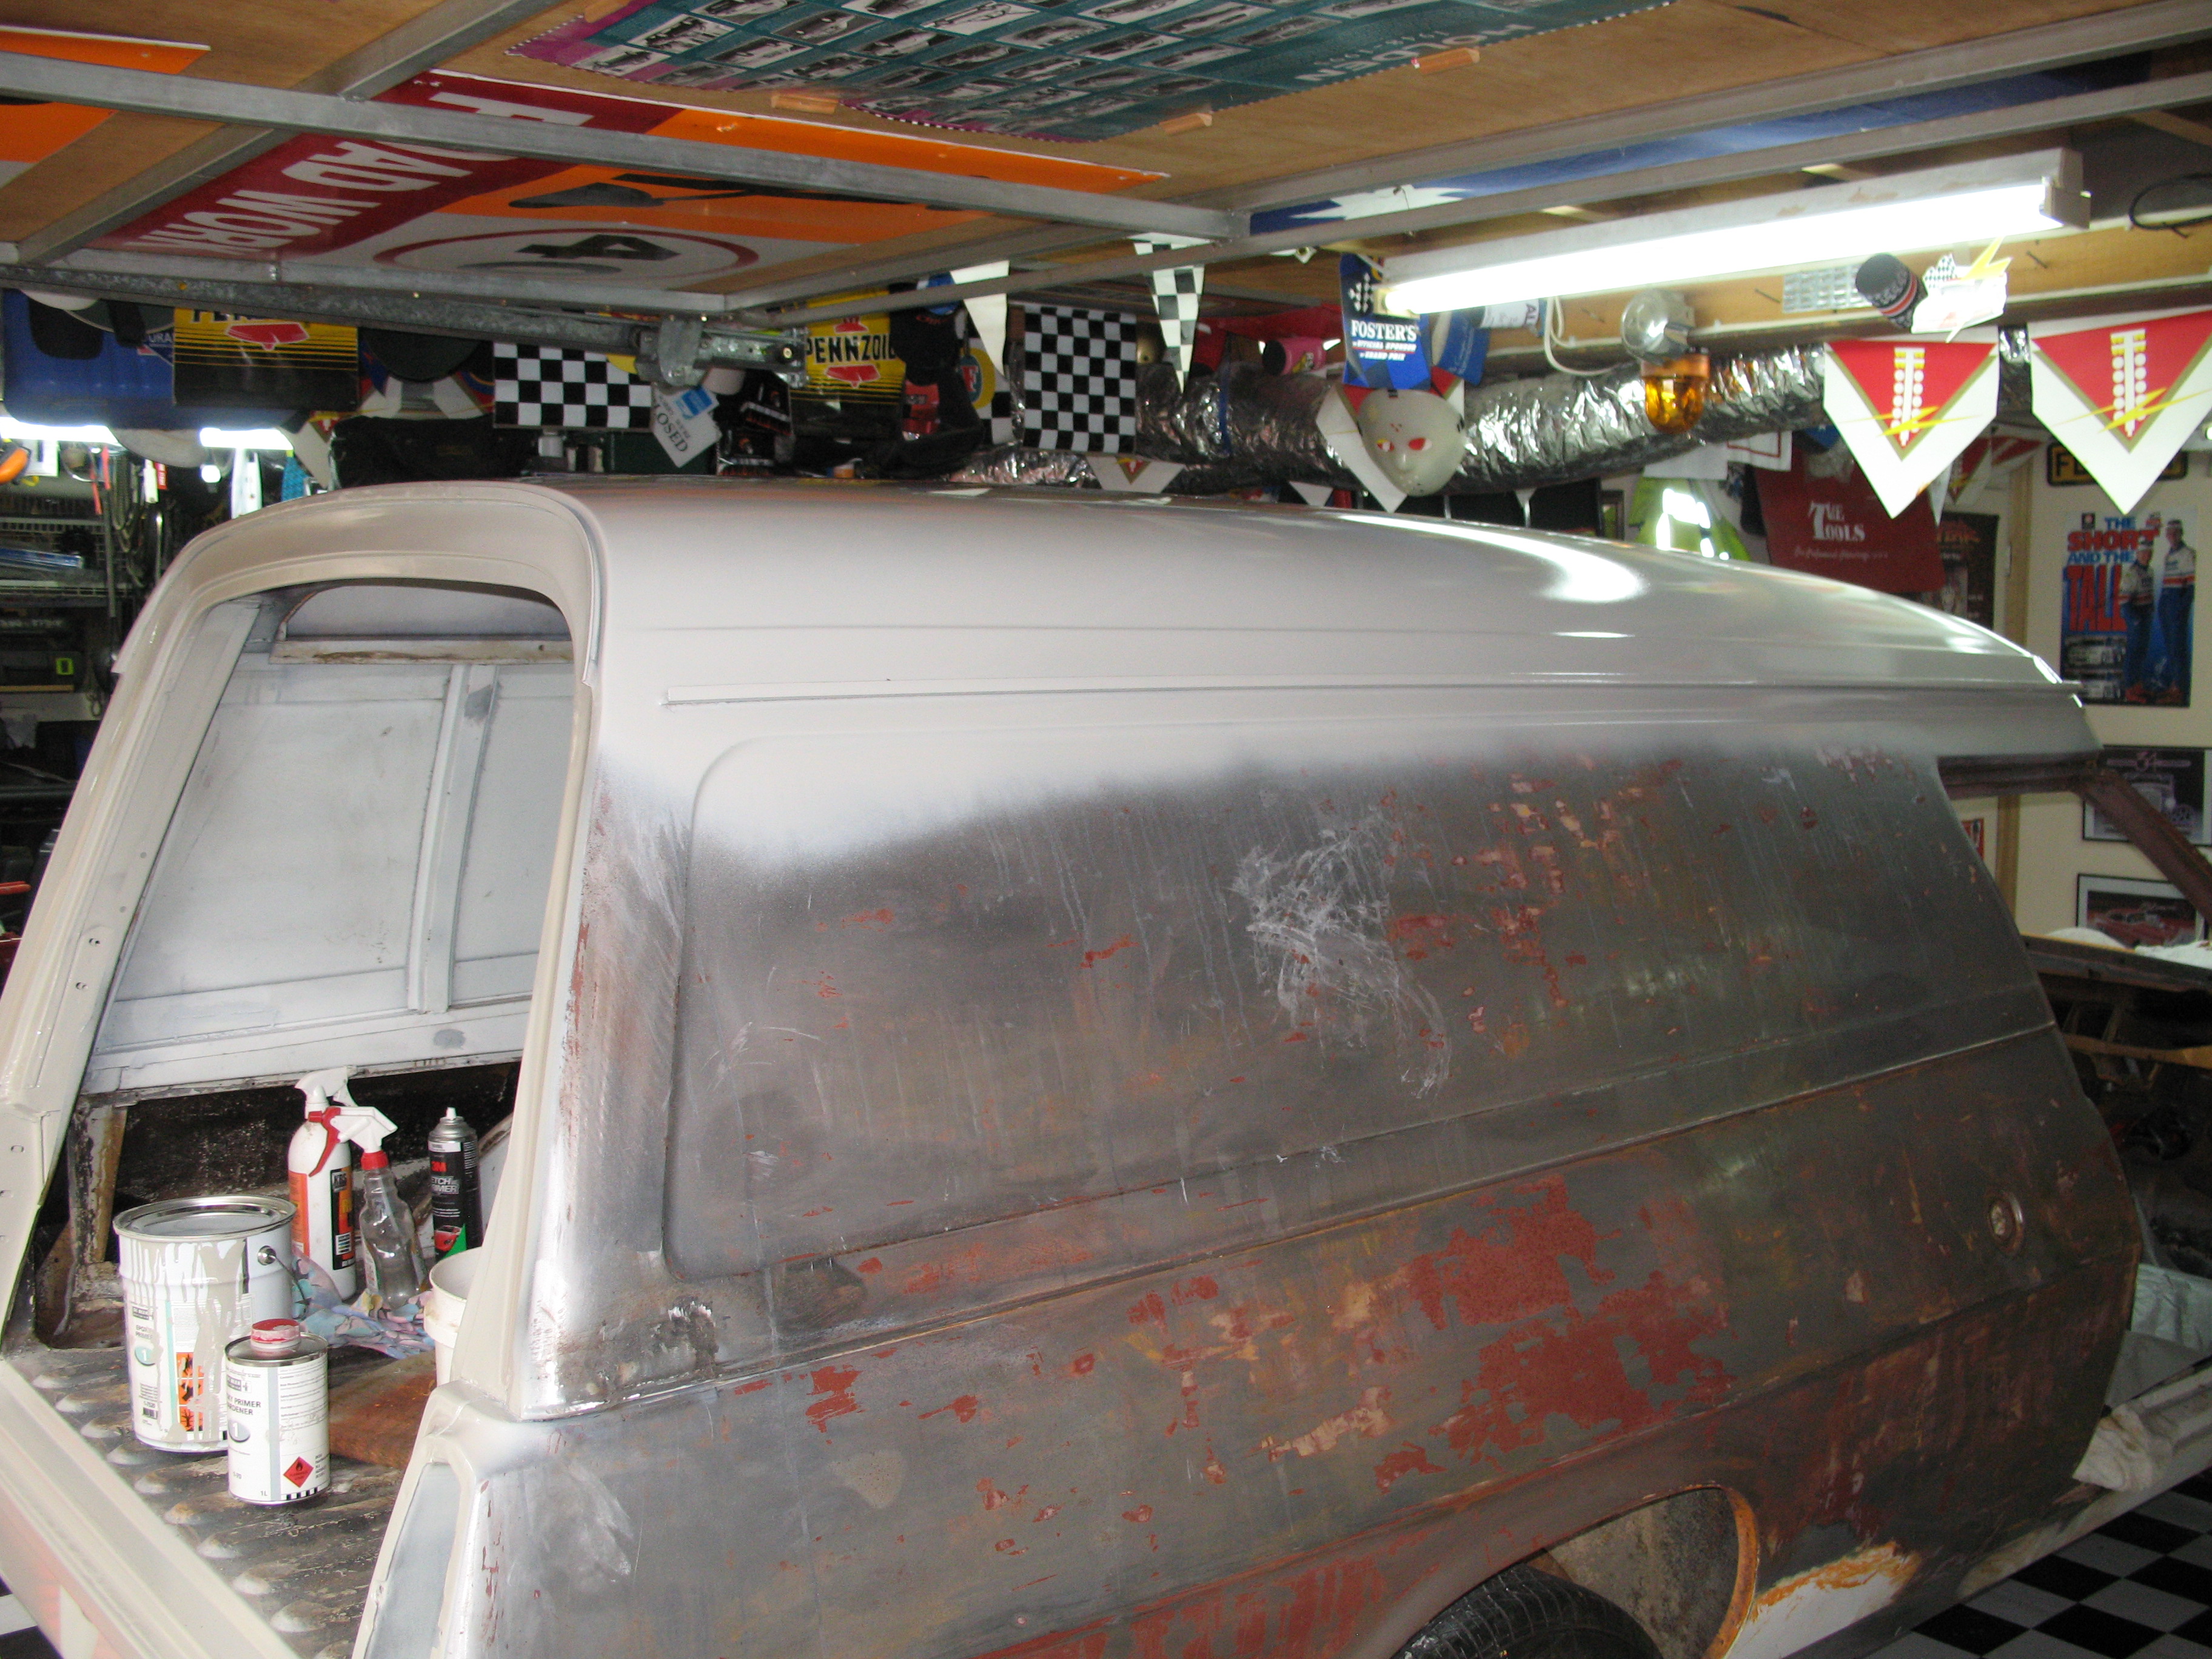
So back to the primer, my sparay painter usese De Beers products so on his recommendation I used the DeBeer sandable epoxy primer. I like it good coverage and sands easily.
nice to gert some help with the panel washdown before spraying

Last edited by Grunt; 06-05-2017 at 02:05 AM.
HX Sandman
Chevrolet Avalanche
HQ Wagon
the fun bit, blocking the body

Last edited by Grunt; 06-05-2017 at 02:06 AM.
HX Sandman
Chevrolet Avalanche
HQ Wagon
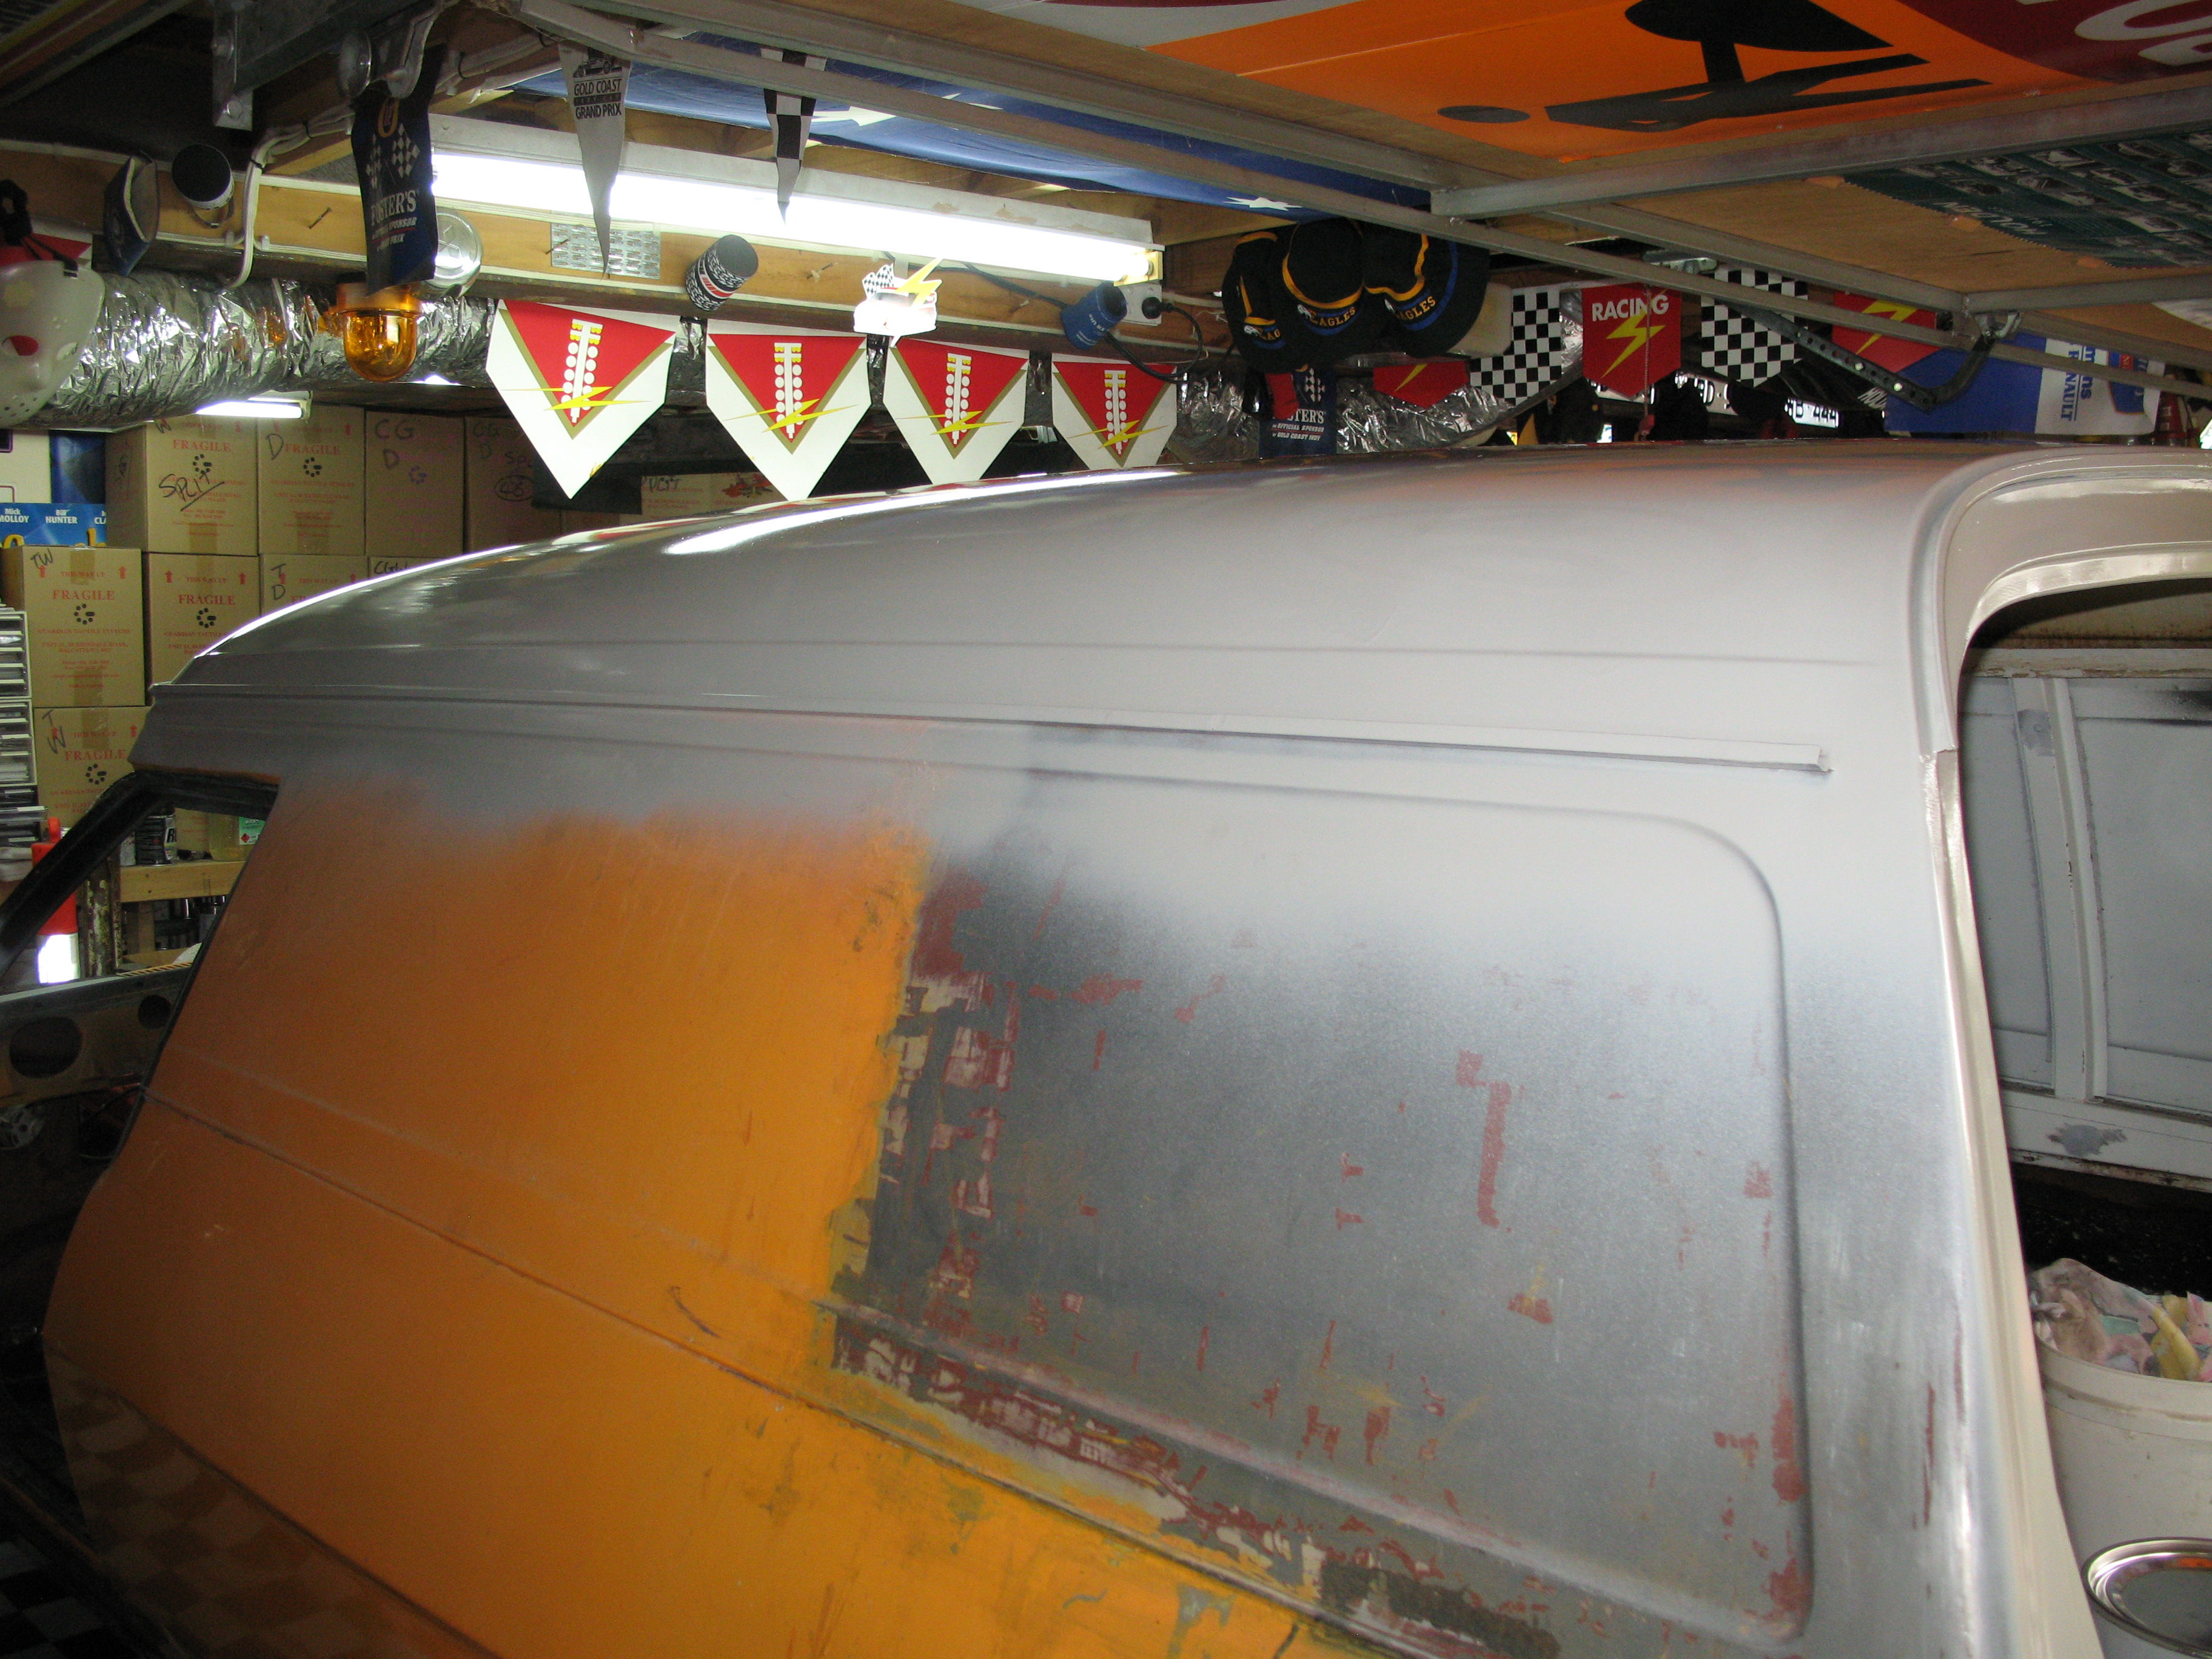
Here is that problem area above the windscreen. Some genius welded a patch there for some reason behind the body work, filled it uo with bog and drilled a roof Ariel. I cut it out and welded a new patch, job done

Last edited by Grunt; 06-05-2017 at 02:06 AM.
HX Sandman
Chevrolet Avalanche
HQ Wagon
This was a big day, time to turn her around and start on the other side

Last edited by Grunt; 06-05-2017 at 10:32 PM.
HX Sandman
Chevrolet Avalanche
HQ Wagon
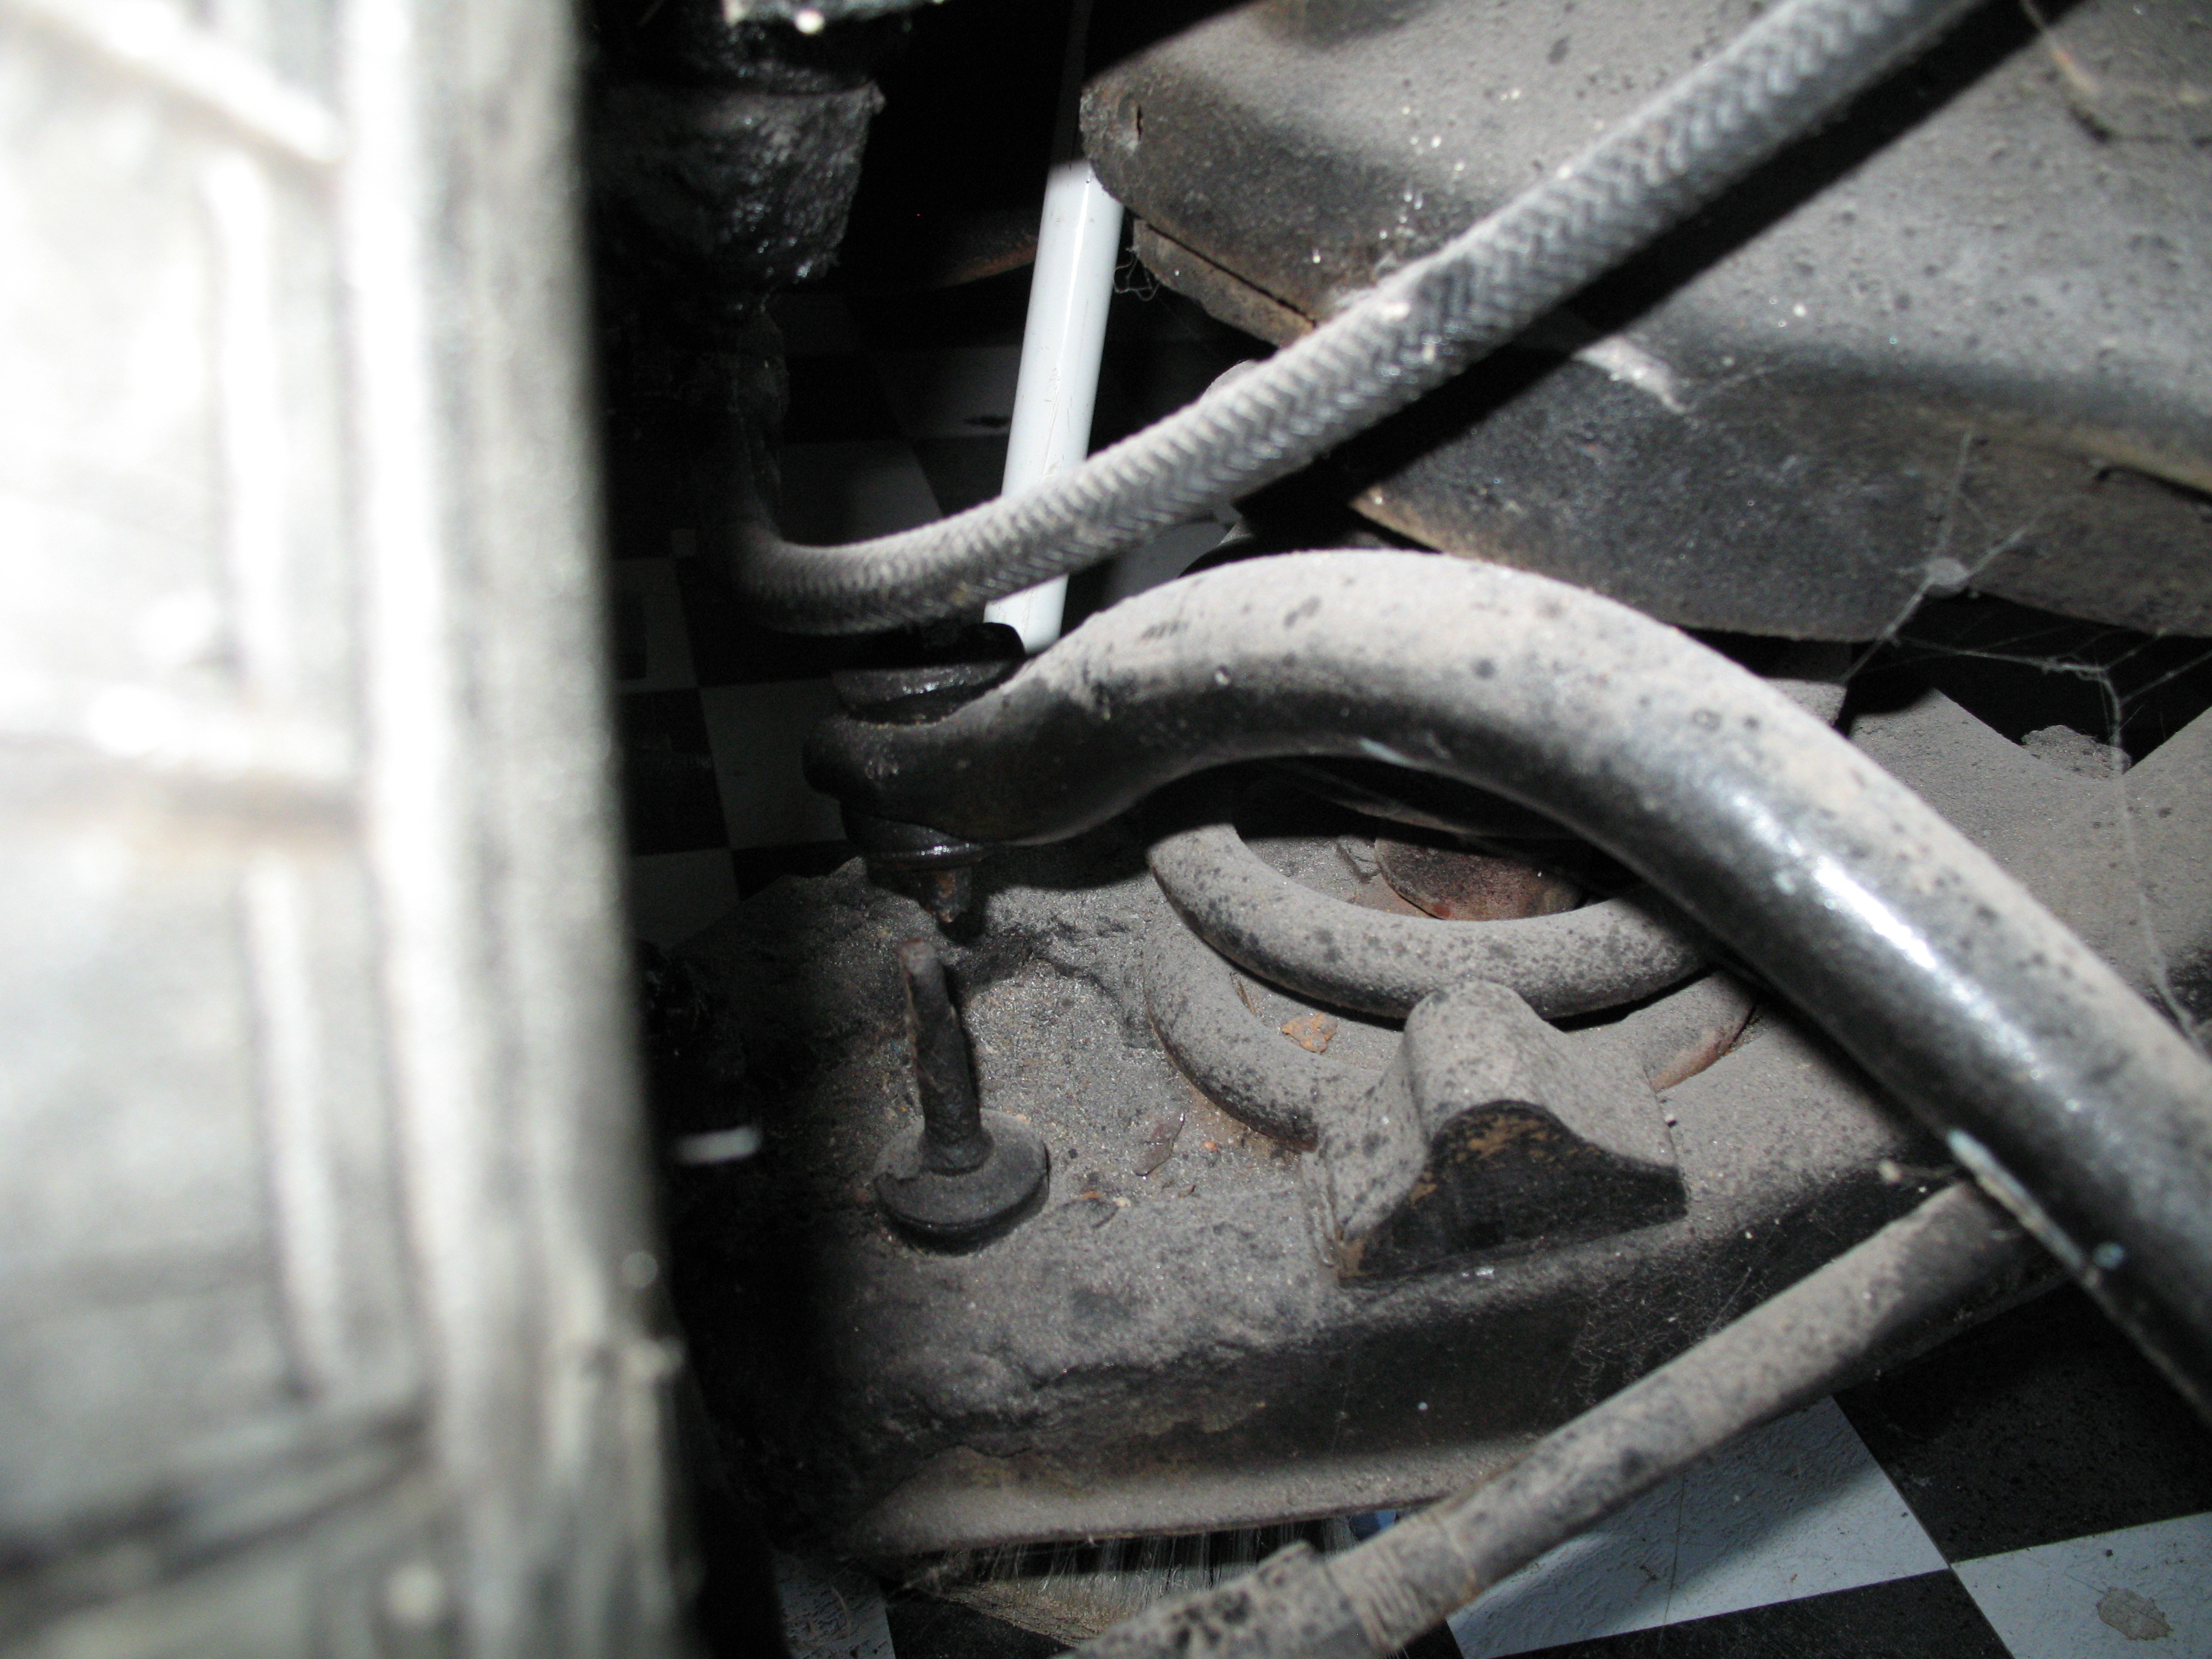
not really up to this stage but this caught my attention, stabilizer support completely rusted through, doubt this would have helped handling
Last edited by Grunt; 06-05-2017 at 10:37 PM.
HX Sandman
Chevrolet Avalanche
HQ Wagon
There are currently 217 users browsing this thread. (0 members and 217 guests)
 Posting Permissions


 Reply With Quote


Bookmarks